


Homework: Adding security to your website
You might have noticed that you didn't have to use your password, apart from back when we used the admin interface. You might also have noticed that this means that anyone can add or edit posts in your blog. I don't know about you, but I don't want just anyone to post on my blog. So let's do something about it.
Authorizing add/edit of posts
First let's make things secure. We will protect our post_new, post_edit, post_draft_list, post_remove and post_publish views so that only logged-in users can access them. Django ships with some nice helpers for doing that, called decorators. Don't worry about the technicalities now; you can read up on these later. The decorator we want to use is shipped in Django in the module django.contrib.auth.decorators and is called login_required.
So edit your blog/views.py and add these lines at the top along with the rest of the imports:
from django.contrib.auth.decorators import login_required
Then add a line before each of the post_new, post_edit, post_draft_list, post_remove and post_publish views (decorating them) like the following:
@login_required
def post_new(request):
    [...]
That's it! Now try to access http://127.0.0.1:8000/post/new/. Notice the difference?
If you just got the empty form, you are probably still logged in from the chapter on the admin-interface. Go to
http://127.0.0.1:8000/admin/logout/to log out, then go tohttp://127.0.0.1:8000/post/newagain.
You should get one of our beloved errors. This one is quite interesting, actually: the decorator we added will redirect you to the login page, but since that's not yet available, it raises a "Page not found (404)".
Don't forget to add the decorator from above to post_edit, post_remove, post_draft_list and post_publish too.
Hooray, we've reached part of our goal!! Now other people can't create posts on our blog anymore. Unfortunately we can't create posts anymore too. So let's fix that next.
Log in users
We could now try to do lots of magical stuff to implement users and passwords and authentication, but doing this correctly is rather complicated. As Django is "batteries included", someone has done the hard work for us, so we will make further use of the authentication tools provided.
In your mysite/urls.py add a url path('accounts/login/', views.LoginView.as_view(), name='login'). So the file should now look similar to this:
from django.urls import path, include
from django.contrib import admin

from django.contrib.auth import views

urlpatterns = [
    path('admin/', admin.site.urls),
    path('accounts/login/', views.LoginView.as_view(), name='login'),
    path('', include('blog.urls')),
]
Then we need a template for the login page, so create a directory blog/templates/registration and a file inside named login.html:
{% extends "blog/base.html" %}

{% block content %}
    {% if form.errors %}
        <p>Your username and password didn't match. Please try again.</p>
    {% endif %}

    <form method="post" action="{% url 'login' %}">
    {% csrf_token %}
        <table>
        <tr>
            <td>{{ form.username.label_tag }}</td>
            <td>{{ form.username }}</td>
        </tr>
        <tr>
            <td>{{ form.password.label_tag }}</td>
            <td>{{ form.password }}</td>
        </tr>
        </table>

        <input type="submit" value="login" />
        <input type="hidden" name="next" value="{{ next }}" />
    </form>
{% endblock %}
You will see that this also makes use of our base template for the overall look and feel of your blog.
The nice thing here is that this just worksTM. We don't have to deal with handling of the form submission nor with passwords and securing them. Only more thing is left to do. We should add a setting to mysite/settings.py:
LOGIN_REDIRECT_URL = '/'
so that when the login page is accessed directly, it will redirect a successful login to the top-level index (the homepage of our blog).
Improving the layout
We already set things up so that only authorized users (i.e. us) see the buttons for adding and editing posts. Now we want to make sure a login button appears for everybody else.
We will add a login button that looks like this:
<a href="{% url 'login' %}" class="top-menu">{% include './icons/lock-fill.svg' %}</a>
For this we need to edit the templates, so let's open up blog/templates/blog/base.html and change it so the part between the <body> tags looks like this:
<body>
    <header class="page-header">
        <div class="container">
            {% if user.is_authenticated %}
            <a href="{% url 'post_new' %}" class="top-menu">
                {% include './icons/file-earmark-plus.svg' %}
            </a>
            <a href="{% url 'post_draft_list' %}" class="top-menu">{% include './icons/pencil-square.svg'%}</a>
            {% else %}
            <a href="{% url 'login' %}" class="top-menu">{% include './icons/lock-fill.svg' %}</a>
            {% endif %}
            <h1><a href="/">Django Girls Blog</a></h1>
        </div>
    </header>
    <main class="content container">
        <div class="row">
            <div class="col">
                {% block content %}
                {% endblock %}
            </div>
        </div>
    </main>
</body>
You might recognize the pattern here. There is an if-condition in the template that checks for authenticated users to show the add and edit buttons. Otherwise it shows a login button.
More on authenticated users
Let's add some sugar to our templates while we're at it. First we will add some details to show when we are logged in. Edit blog/templates/blog/base.html like this:
<header class="page-header">
<div class="container">
{% if user.is_authenticated %}
<a href="{% url 'post_new' %}" class="top-menu">
{% include './icons/file-earmark-plus.svg' %}
</a>
<a href="{% url 'post_draft_list' %}" class="top-menu">{% include './icons/pencil-square.svg'%}</a>
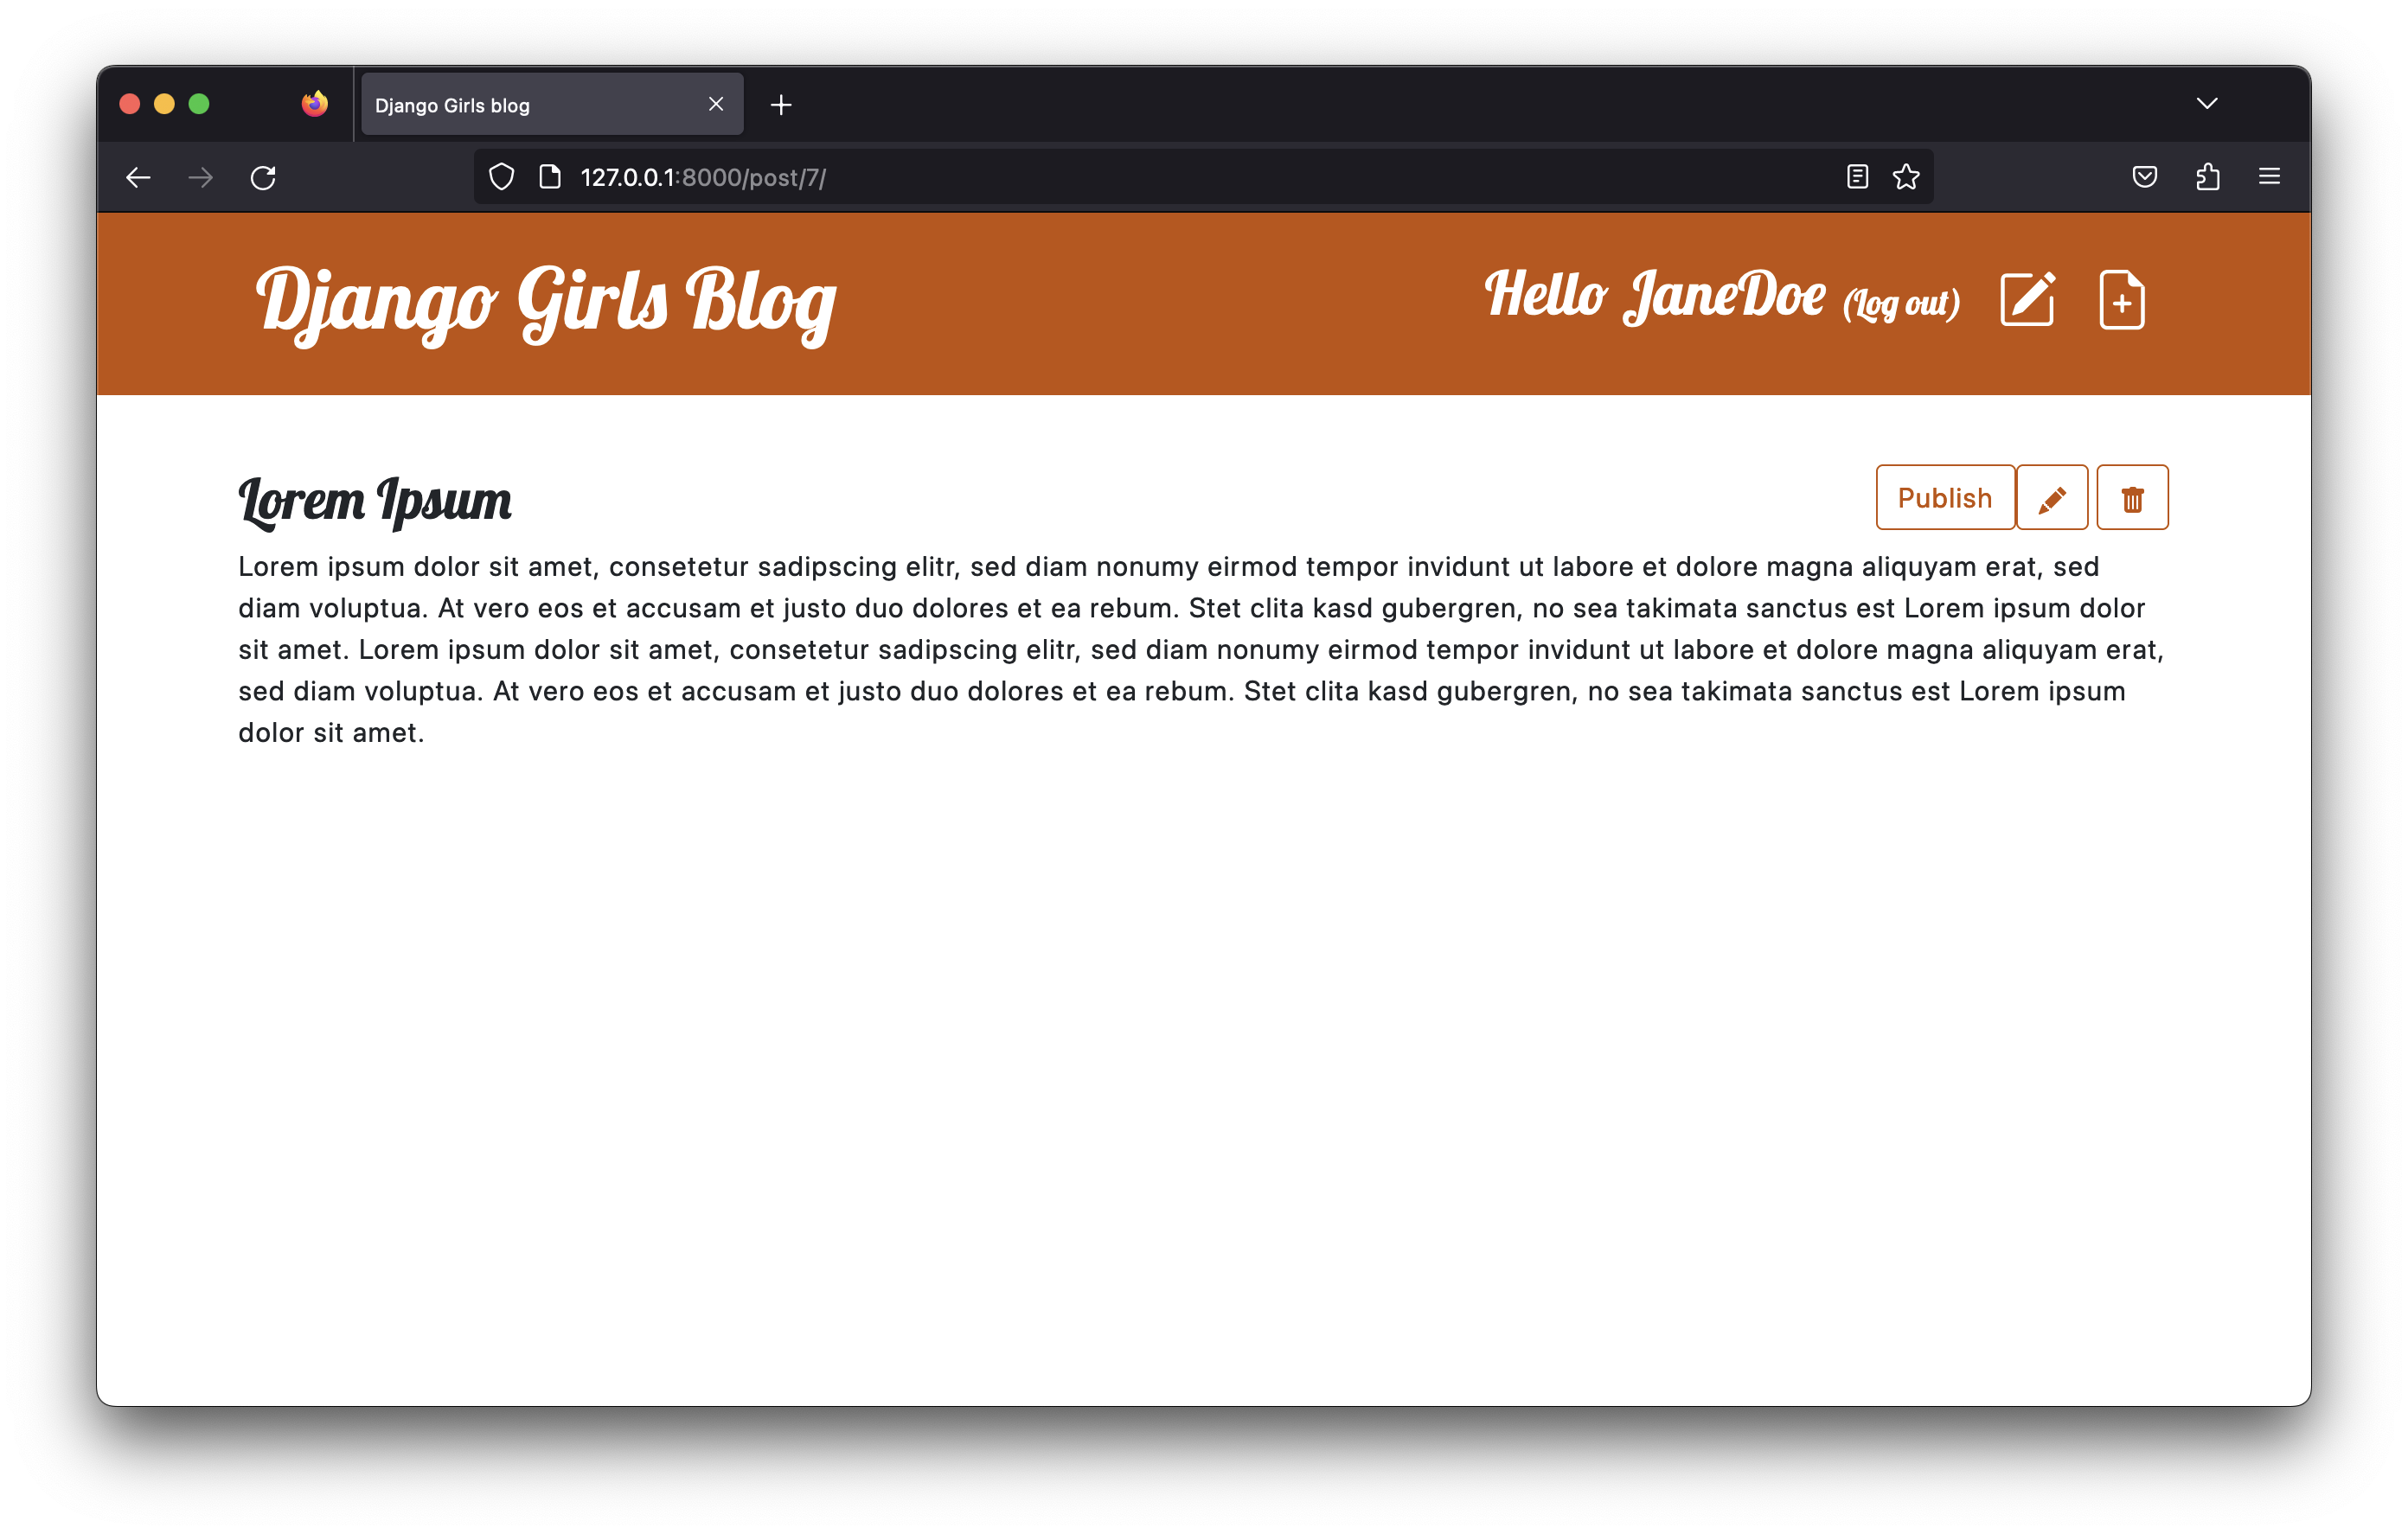
<p id="logout" class="top-menu">Hello {{ user.username }} <small><a href="{% url 'logout' %}">(Log out)</a></small></p>
{% else %}
<a href="{% url 'login' %}" class="top-menu">{% include './icons/lock-fill.svg' %}</a>
{% endif %}
<h1><a href="/">Django Girls Blog</a></h1>
</div>
</header>
This adds a nice "Hello <username>" to remind us who we are logged in as, and that we are authenticated. Also, this adds a link to log out of the blog -- but as you might notice this isn't working yet. Let's fix it!
We decided to rely on Django to handle login, so let's see if Django can also handle logout for us. Check https://docs.djangoproject.com/en/2.0/topics/auth/default/ and see if you find something.
Done reading? By now you may be thinking about adding a URL in mysite/urls.py pointing to Django's logout view (i.e. django.contrib.auth.views.logout), like this:
from django.urls import path, include
from django.contrib import admin

from django.contrib.auth import views

urlpatterns = [
    path('admin/', admin.site.urls),
    path('accounts/login/', views.LoginView.as_view(), name='login'),
    path('accounts/logout/', views.LogoutView.as_view(next_page='/'), name='logout'),
    path('', include('blog.urls')),
]
Let's also add this to our blog.css file for the proper styling of our login:
#logout {
    font-family: 'Lobster', cursive;

}

small a,
small a:hover,
small a:visited {
    font-size: 15pt;
    color: #ffffff;
    text-decoration: none;
}
That's it! If you followed all of the above up to this point (and did the homework), you now have a blog where you
- need a username and password to log in,
- need to be logged in to add, edit, publish or delete posts,
- and can log out again.