


Adding Posts to Wagtail
In the last section, we created a new page model which we used to add content to our homepage called Homepage, changed
the root of our Wagtail site to use this new homepage. We also added the CSS styling we were already using in our
project and now the Wagtail homepage has the same look and feel as our blog homepage, which is really pretty amazing!
Now, we need to use our posts model to render the posts we already have on the blog using Wagtail.
Let's get started!
Adding BlogPage model to Wagtail for posts
We already have a Post model in our models.py that inherits from django.db.models.Model. We will leave it as it is
for now and add a new model, a child model of HomePage which we will name BlogPage. Like the HomePage model, our
new models also inherits from wagtails.models.Page like its parent model HomePage.
We first need to add the following import to our models.py:
from wagtail.search import index
Next we need to add the BlogPage model to as shown below:
class BlogPage(Page):
    author = models.ForeignKey(settings.AUTH_USER_MODEL, on_delete=models.CASCADE)
    date = models.DateField("Post date")
    intro = models.CharField(max_length=250)
    text = RichTextField(blank=True)

    search_fields = Page.search_fields + [
        index.SearchField('intro'),
        index.SearchField('text'),
    ]

    content_panels = Page.content_panels + [
        FieldPanel('date'),
        FieldPanel('intro'),
        FieldPanel('text'),
    ]
Before we move on, we will make some comparisons between our Post and BlogPage models.
- Our
Postmodel contains a field namedtitle. We won't define it in ourBlogPagemodel because our base modelPagealready includes a field with the same name. So, there's no need to define it again since it's already there. - We also do not have the
publishmethod as this is again handled by a method in ourPagemodel. - The
Pageclass also takes care of the string representation for ourBlogPagemodel hence we do not have to define a__str__()method in the model as we already inherited that. - Wagtail also takes care of the search functionality for our
BlogPagemodel. For this we only need to definesearch_fields, something we would need to do inadmin.pyfor ourPostmodel. We importedindexinBlogPagebecause it makes our model searchable and then we listed the fields we wanted to use for searching the model.
As you can see, Wagtail takes care of most of the work we would have done for ourselves by writing our own code to have that functionality. Among Wagtail's many powerful capabilities is the search capability for which Wagtail provides two backends for storing the search index and performing search queries: one using the database's full-text search capabilities, and another using Elasticsearch. You can also roll your own search backend. Isn't that awesome?
We can now run python3 manage.py makemigrationscommand to make migrations for BlogPage
(myvenv) ~/djangogirls$ python3 manage.py makemigrations
and the migrate command to create the BlogPage model as shown below:
(myvenv) ~/djangogirls$ python3 manage.py migrate
Now that we have created our BlogPage model, we need to add a template blog_page.html in our blog/templates/blog
folder and add the following:
blog_page.html
{% extends "wagtail_base.html" %}

{% load wagtailcore_tags %}

{% block body_class %}template-blogpage{% endblock %}

{% block content %}
    <h1>{{ page.title }}</h1>
    <p class="meta">{{ page.date }}</p>

    <div class="intro">{{ page.intro }}</div>

    {{ page.body|richtext }}

    <p><a href="{{ page.get_parent.url }}">Return to blog</a></p>

{% endblock %}
Wagtail’s built-in get_parent() method is used to obtain the URL of the blog this post is a part of. You can refer to
Wagtail's documentation for more on this.
Adding blog posts
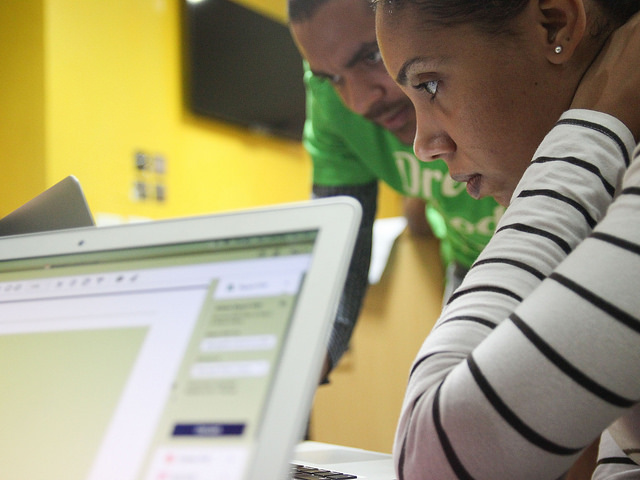
Now we can create a few blog posts as children of Home Page. To do this, navigate to Pages and click on the arrow
to go to the new homepage you just created.
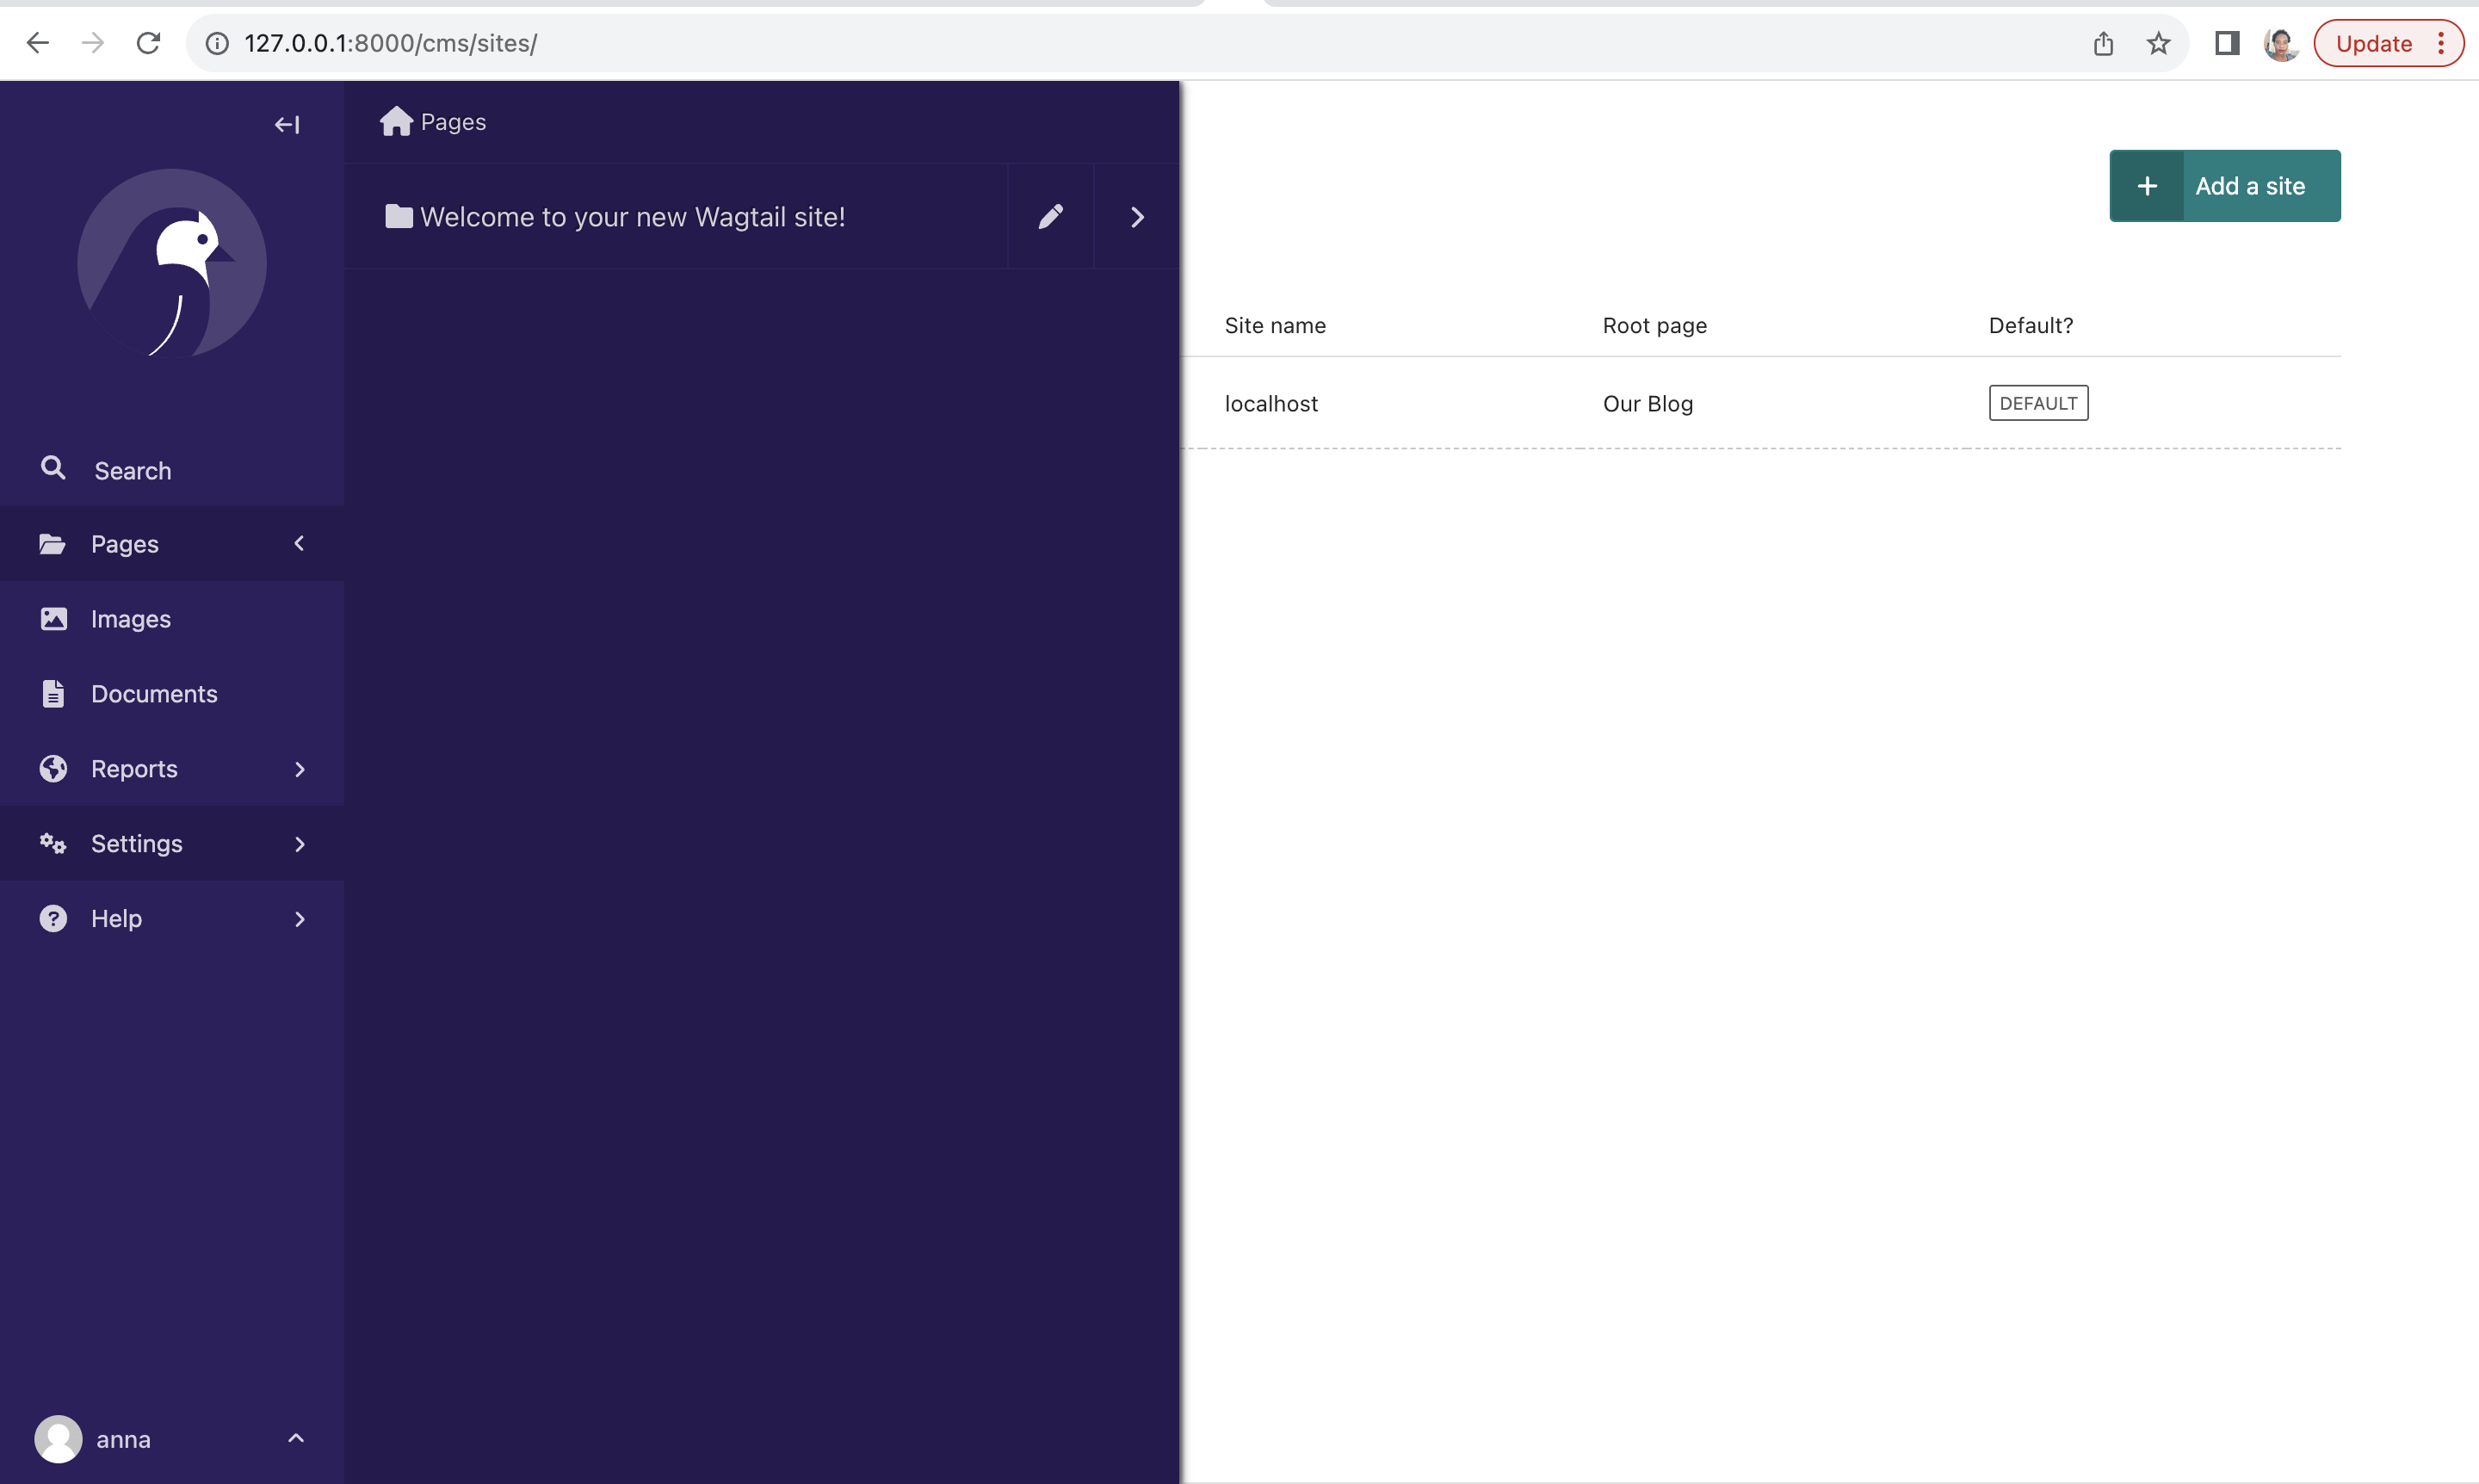
Click on the edit icon for the homepage you just created, in our case the homepage is called Our Blog as shown below.
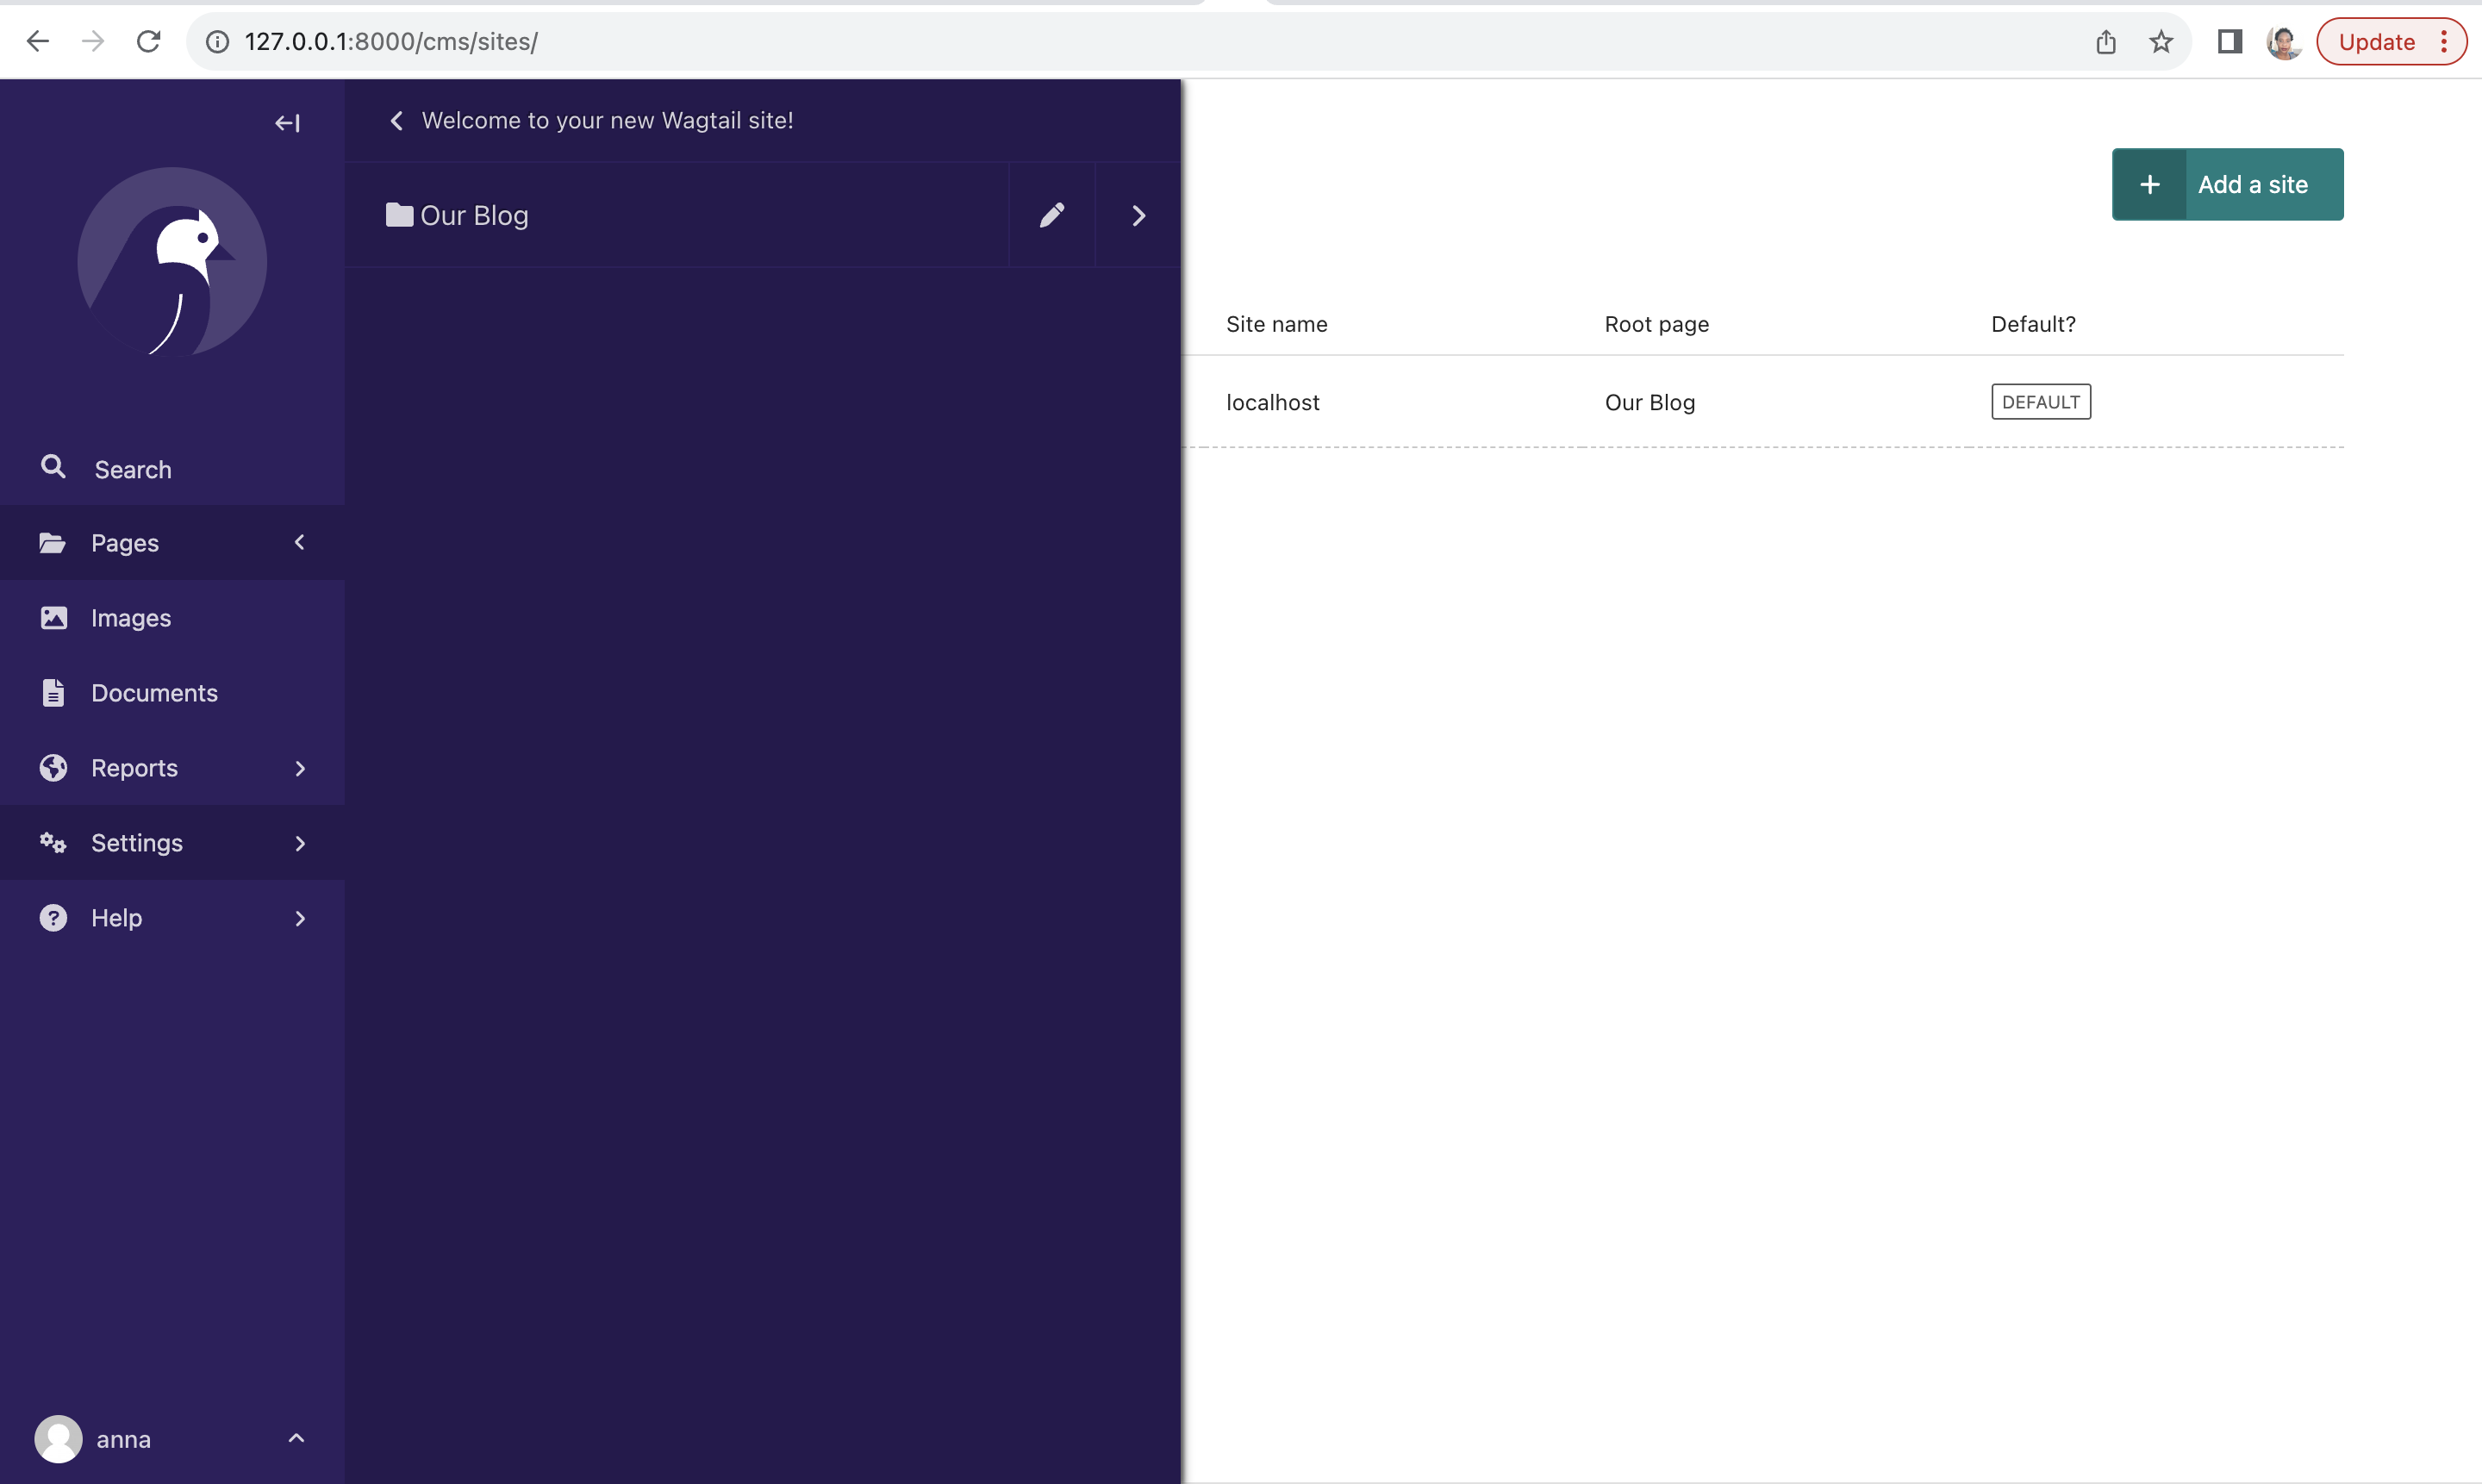
Click on the three dots and select Add Child Page as shown below.
This will show the types of pages available as shown below.
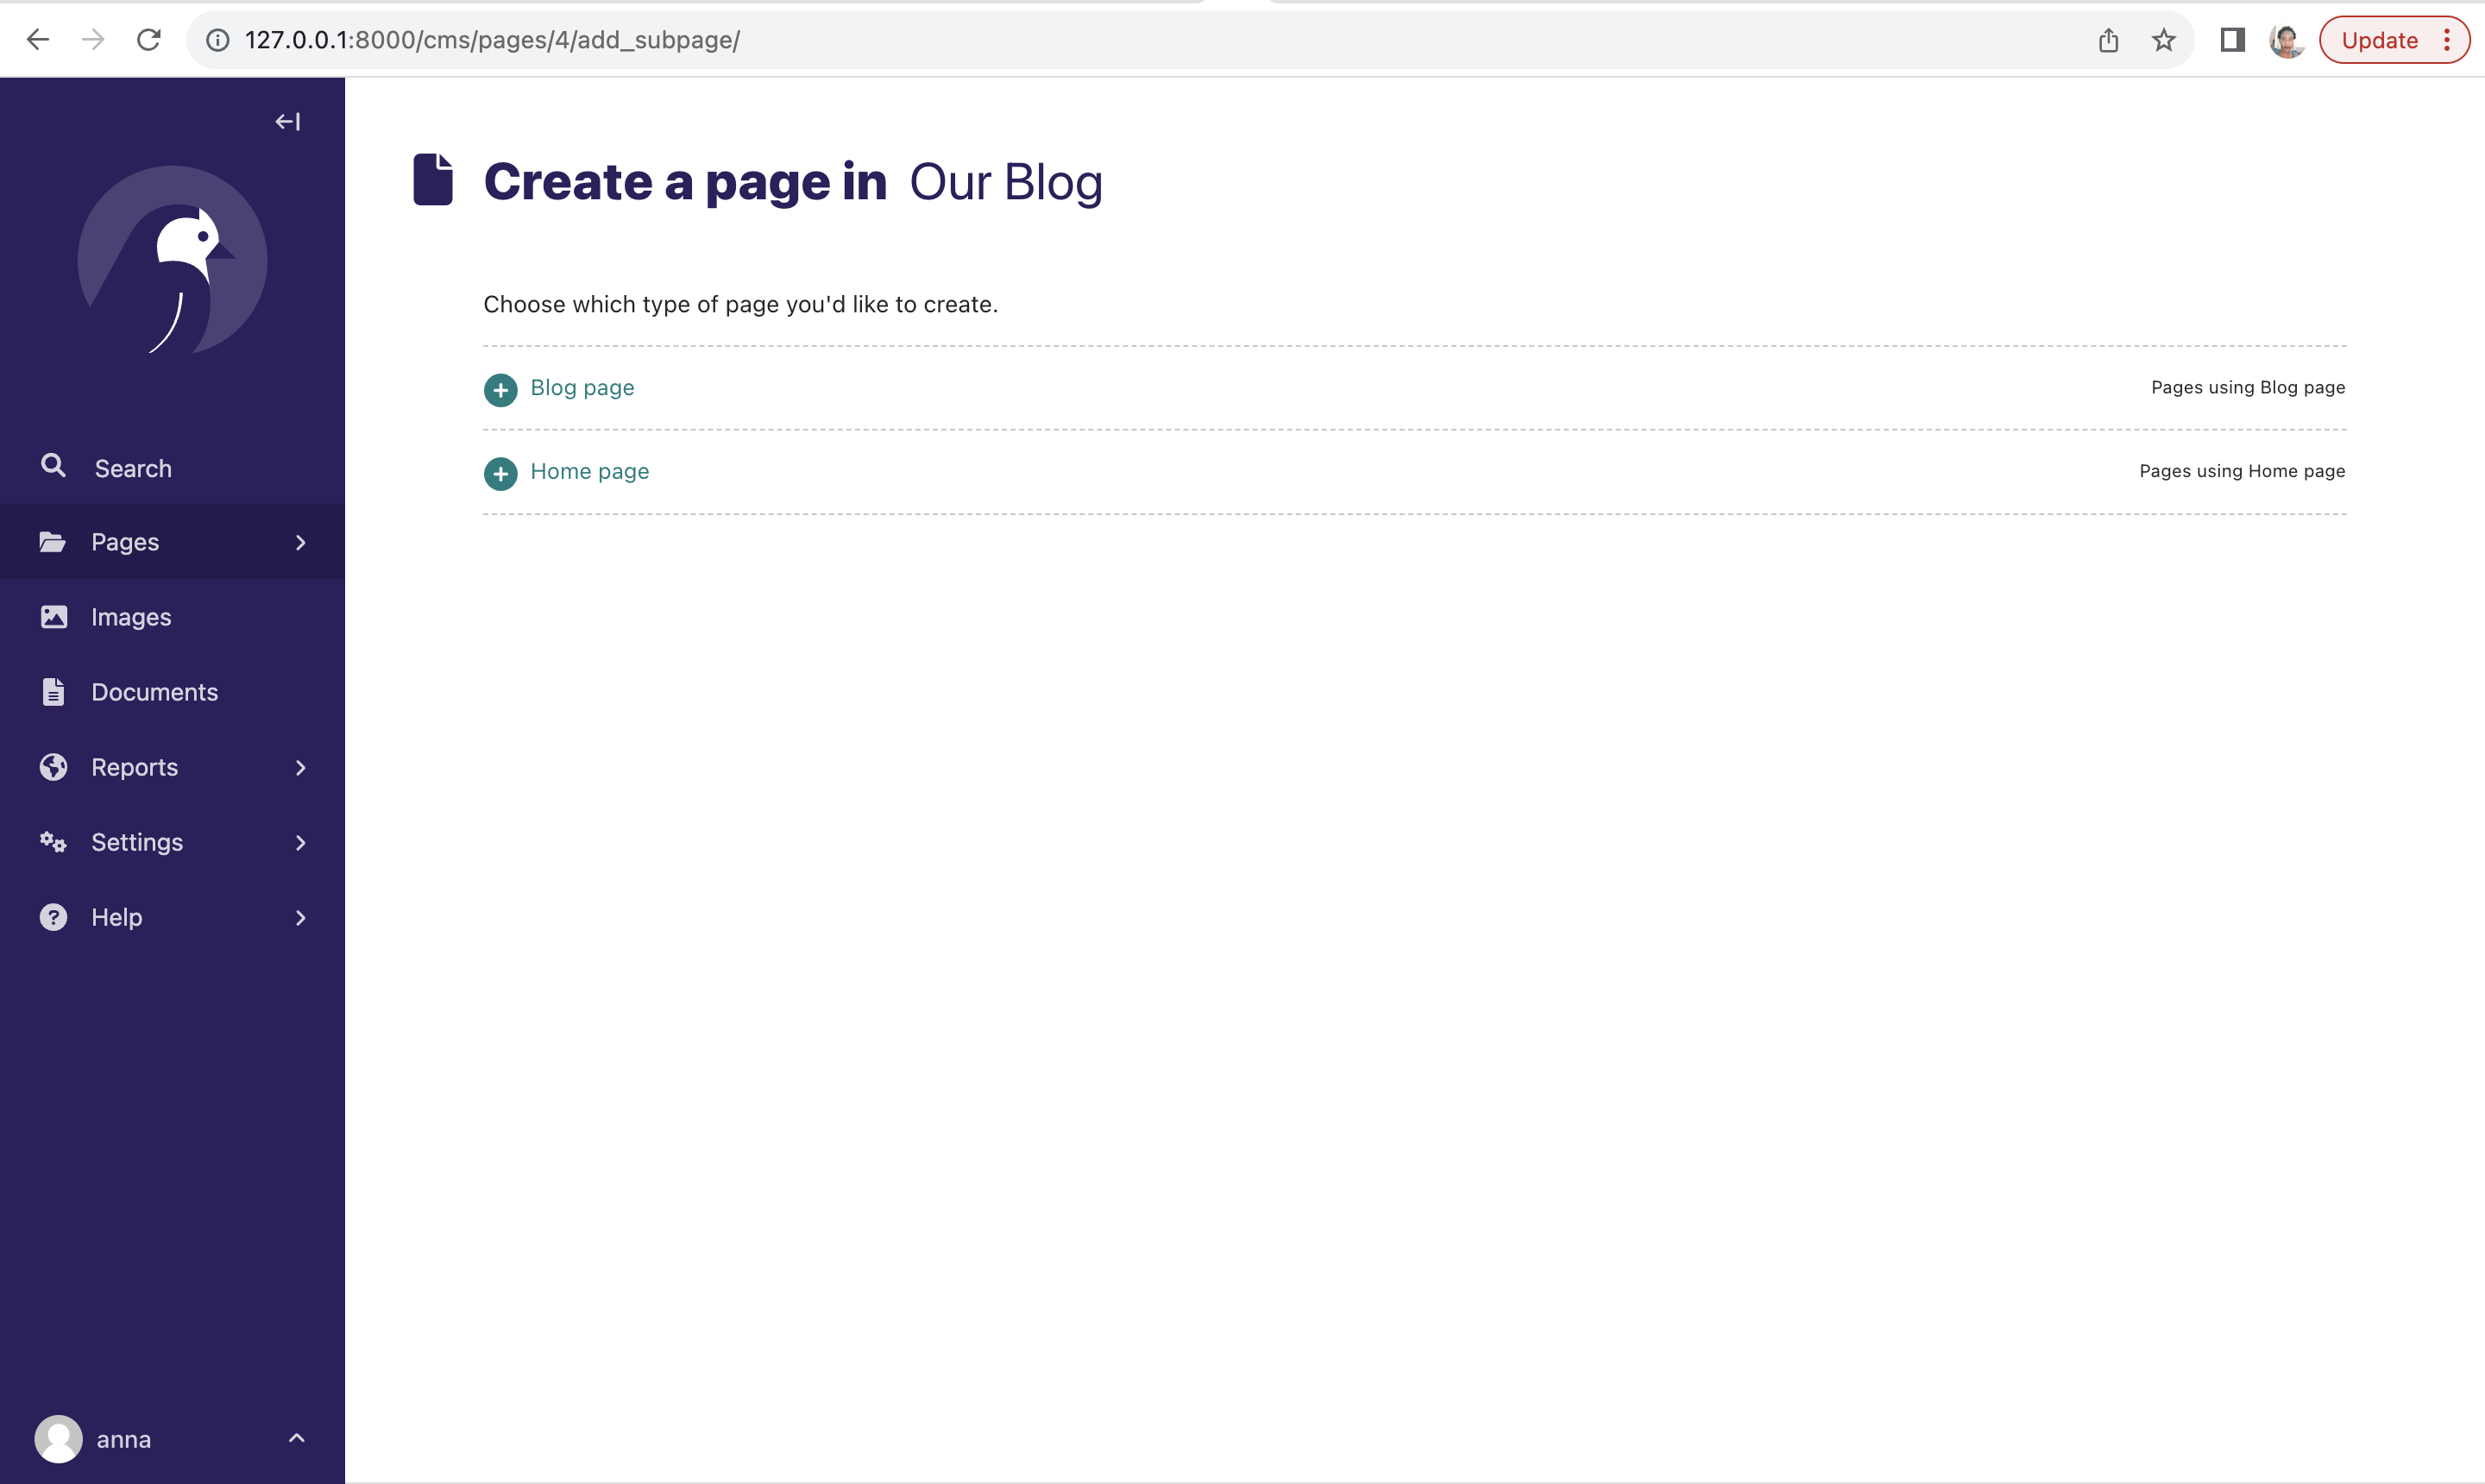
Be sure to select type Blog Page when creating your posts. Add any content you like and create at least three posts.
Also make sure the blog pages have slugs on the Promote tab, or Wagtail will automatically generate the slug for you.
Be sure to click Publish to publish the posts.
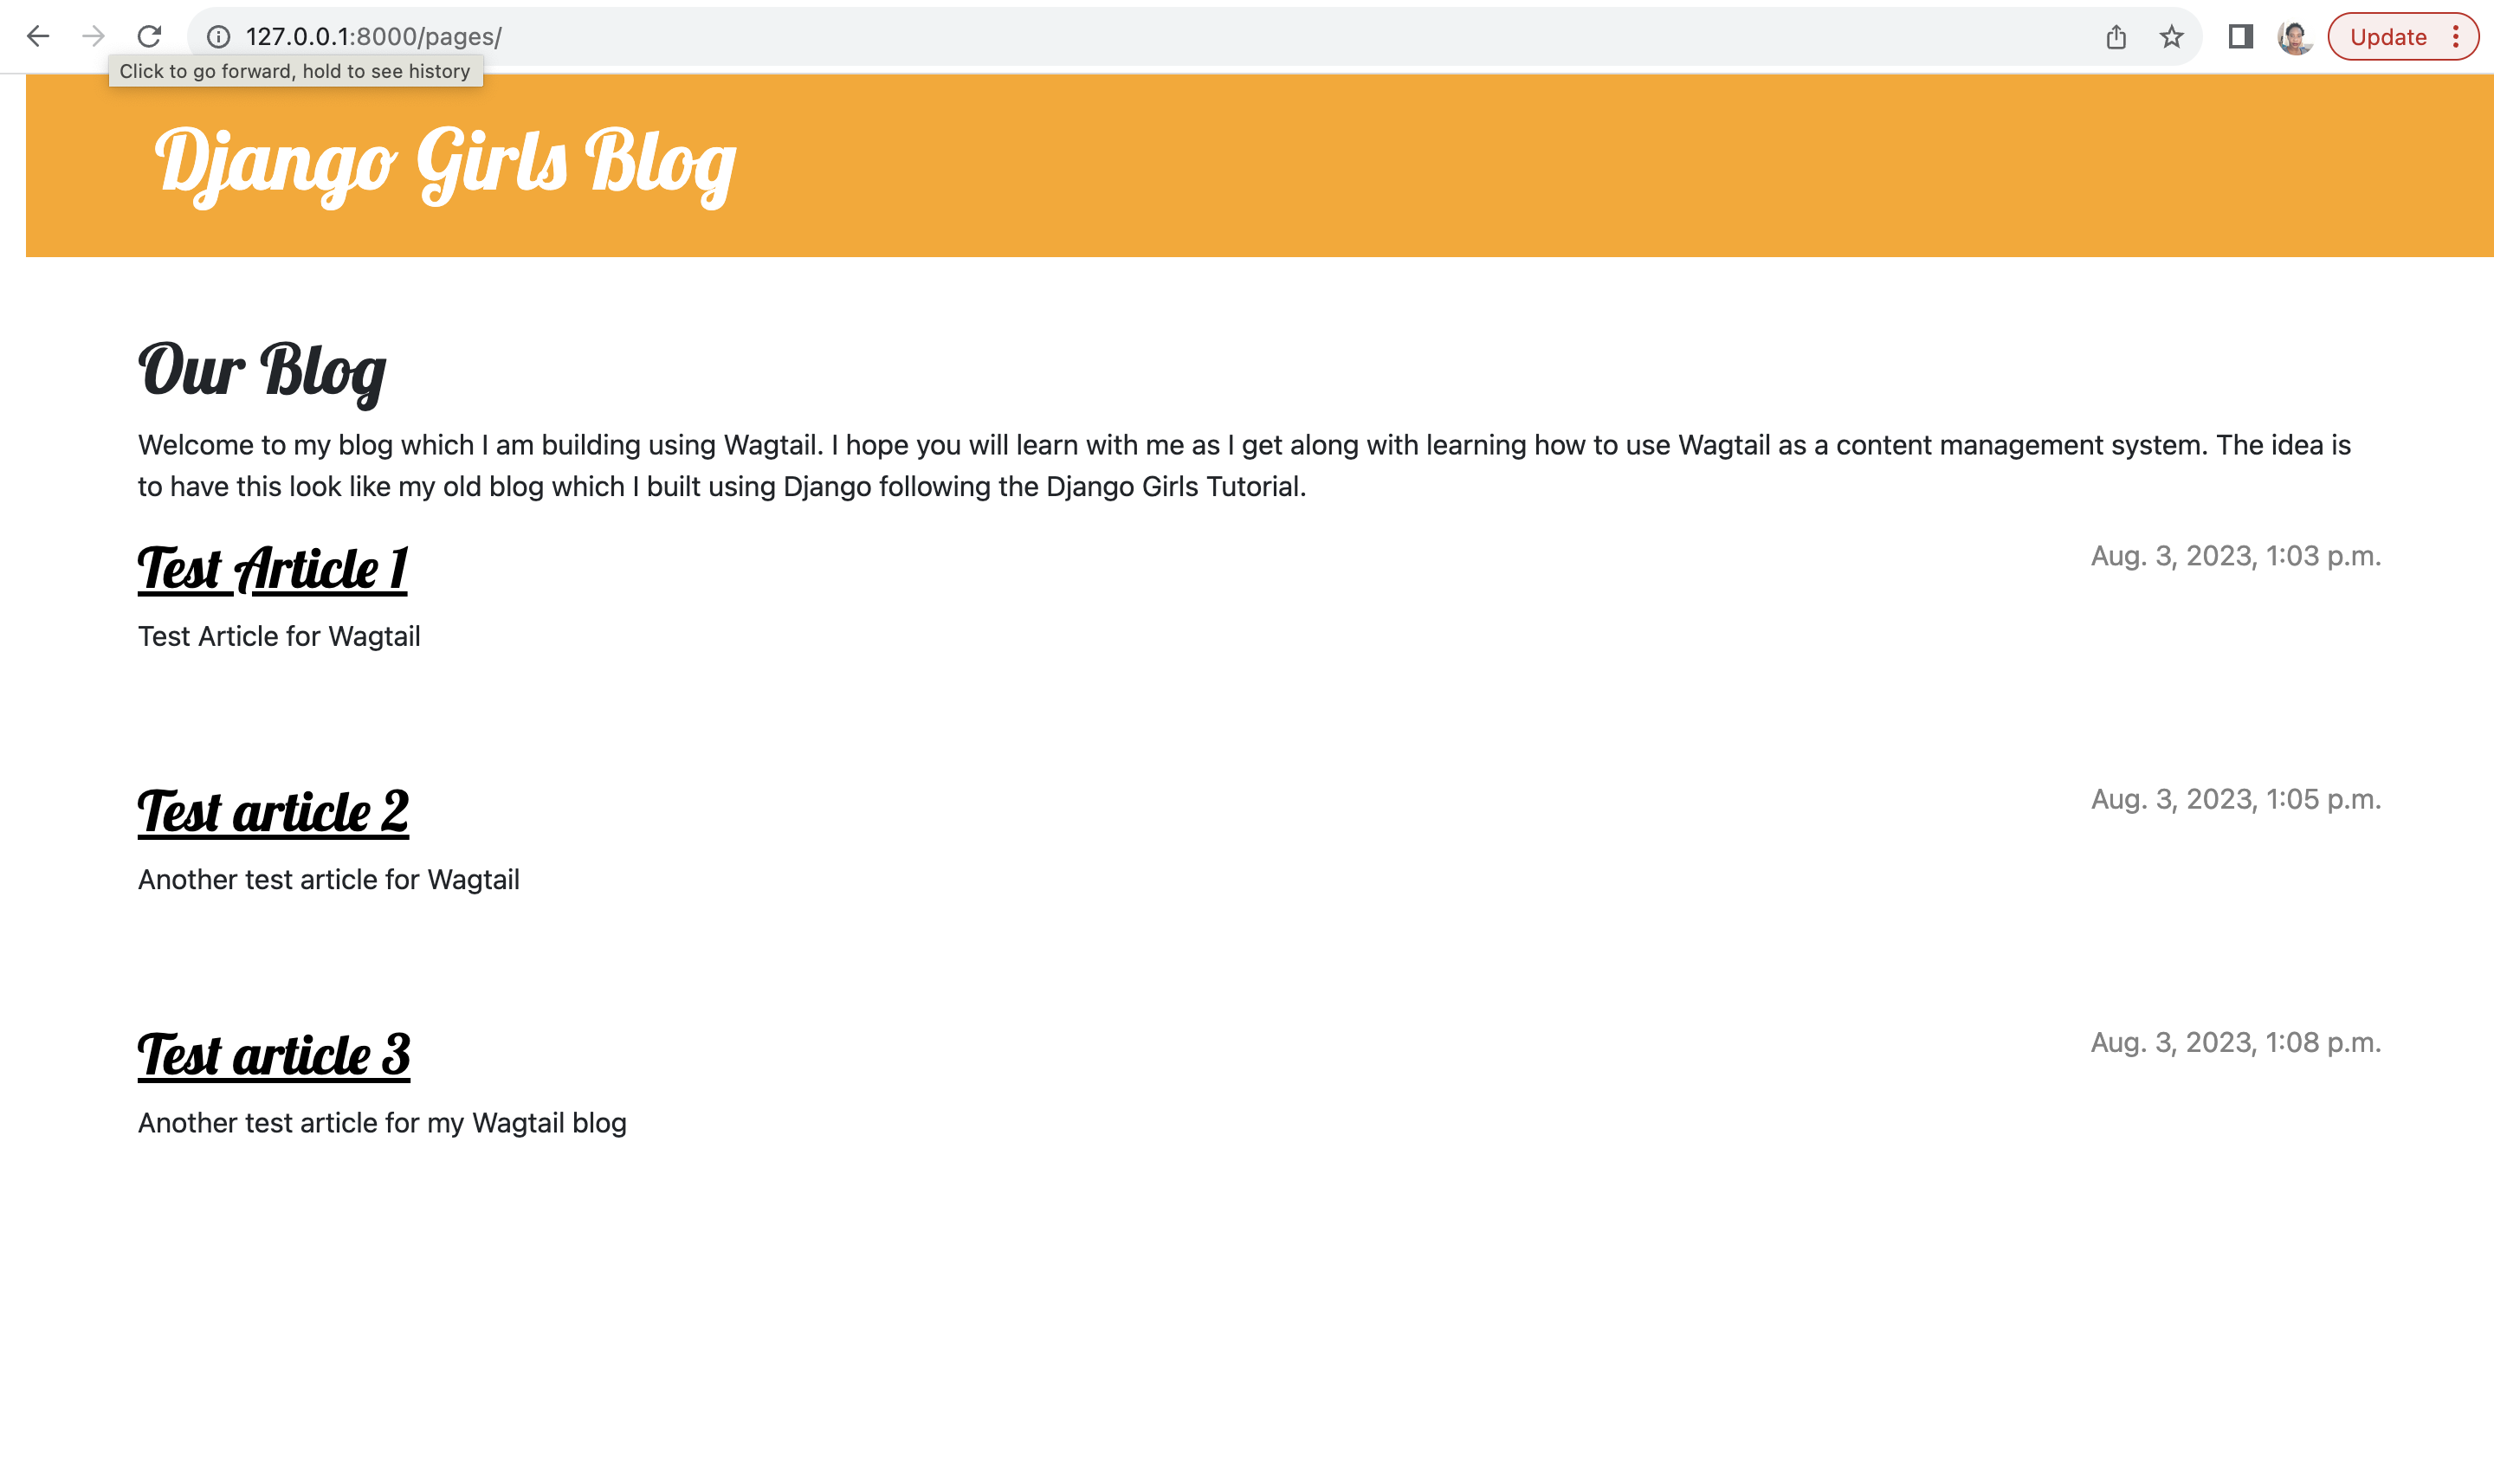
If you access http://127.0.0.1:8000/pages/ on your site, you will see that the text for your homepage is rendering as well as posts from your blog posts. You should have something similar to what's shown below:
With that working, we are ready to move to the final part of this tutorial and make the Wagtail blog the homepage for our website.
Let's do this in the next section!