


Adding the Homepage
Now that we have Wagtail installed, up and running, we now need to work towards serving our blog through Wagtail. We already have developed a blog that we are serving using Django that we need to migrate to use Wagtail and this will involve some changes to our models and HTML files so that we use Wagtail to manage our blog.
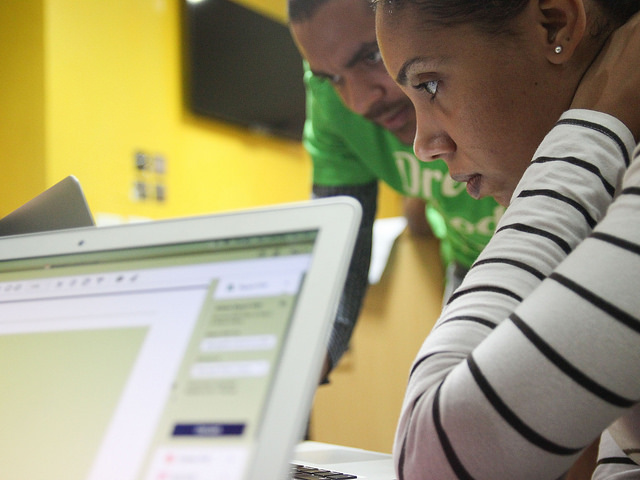
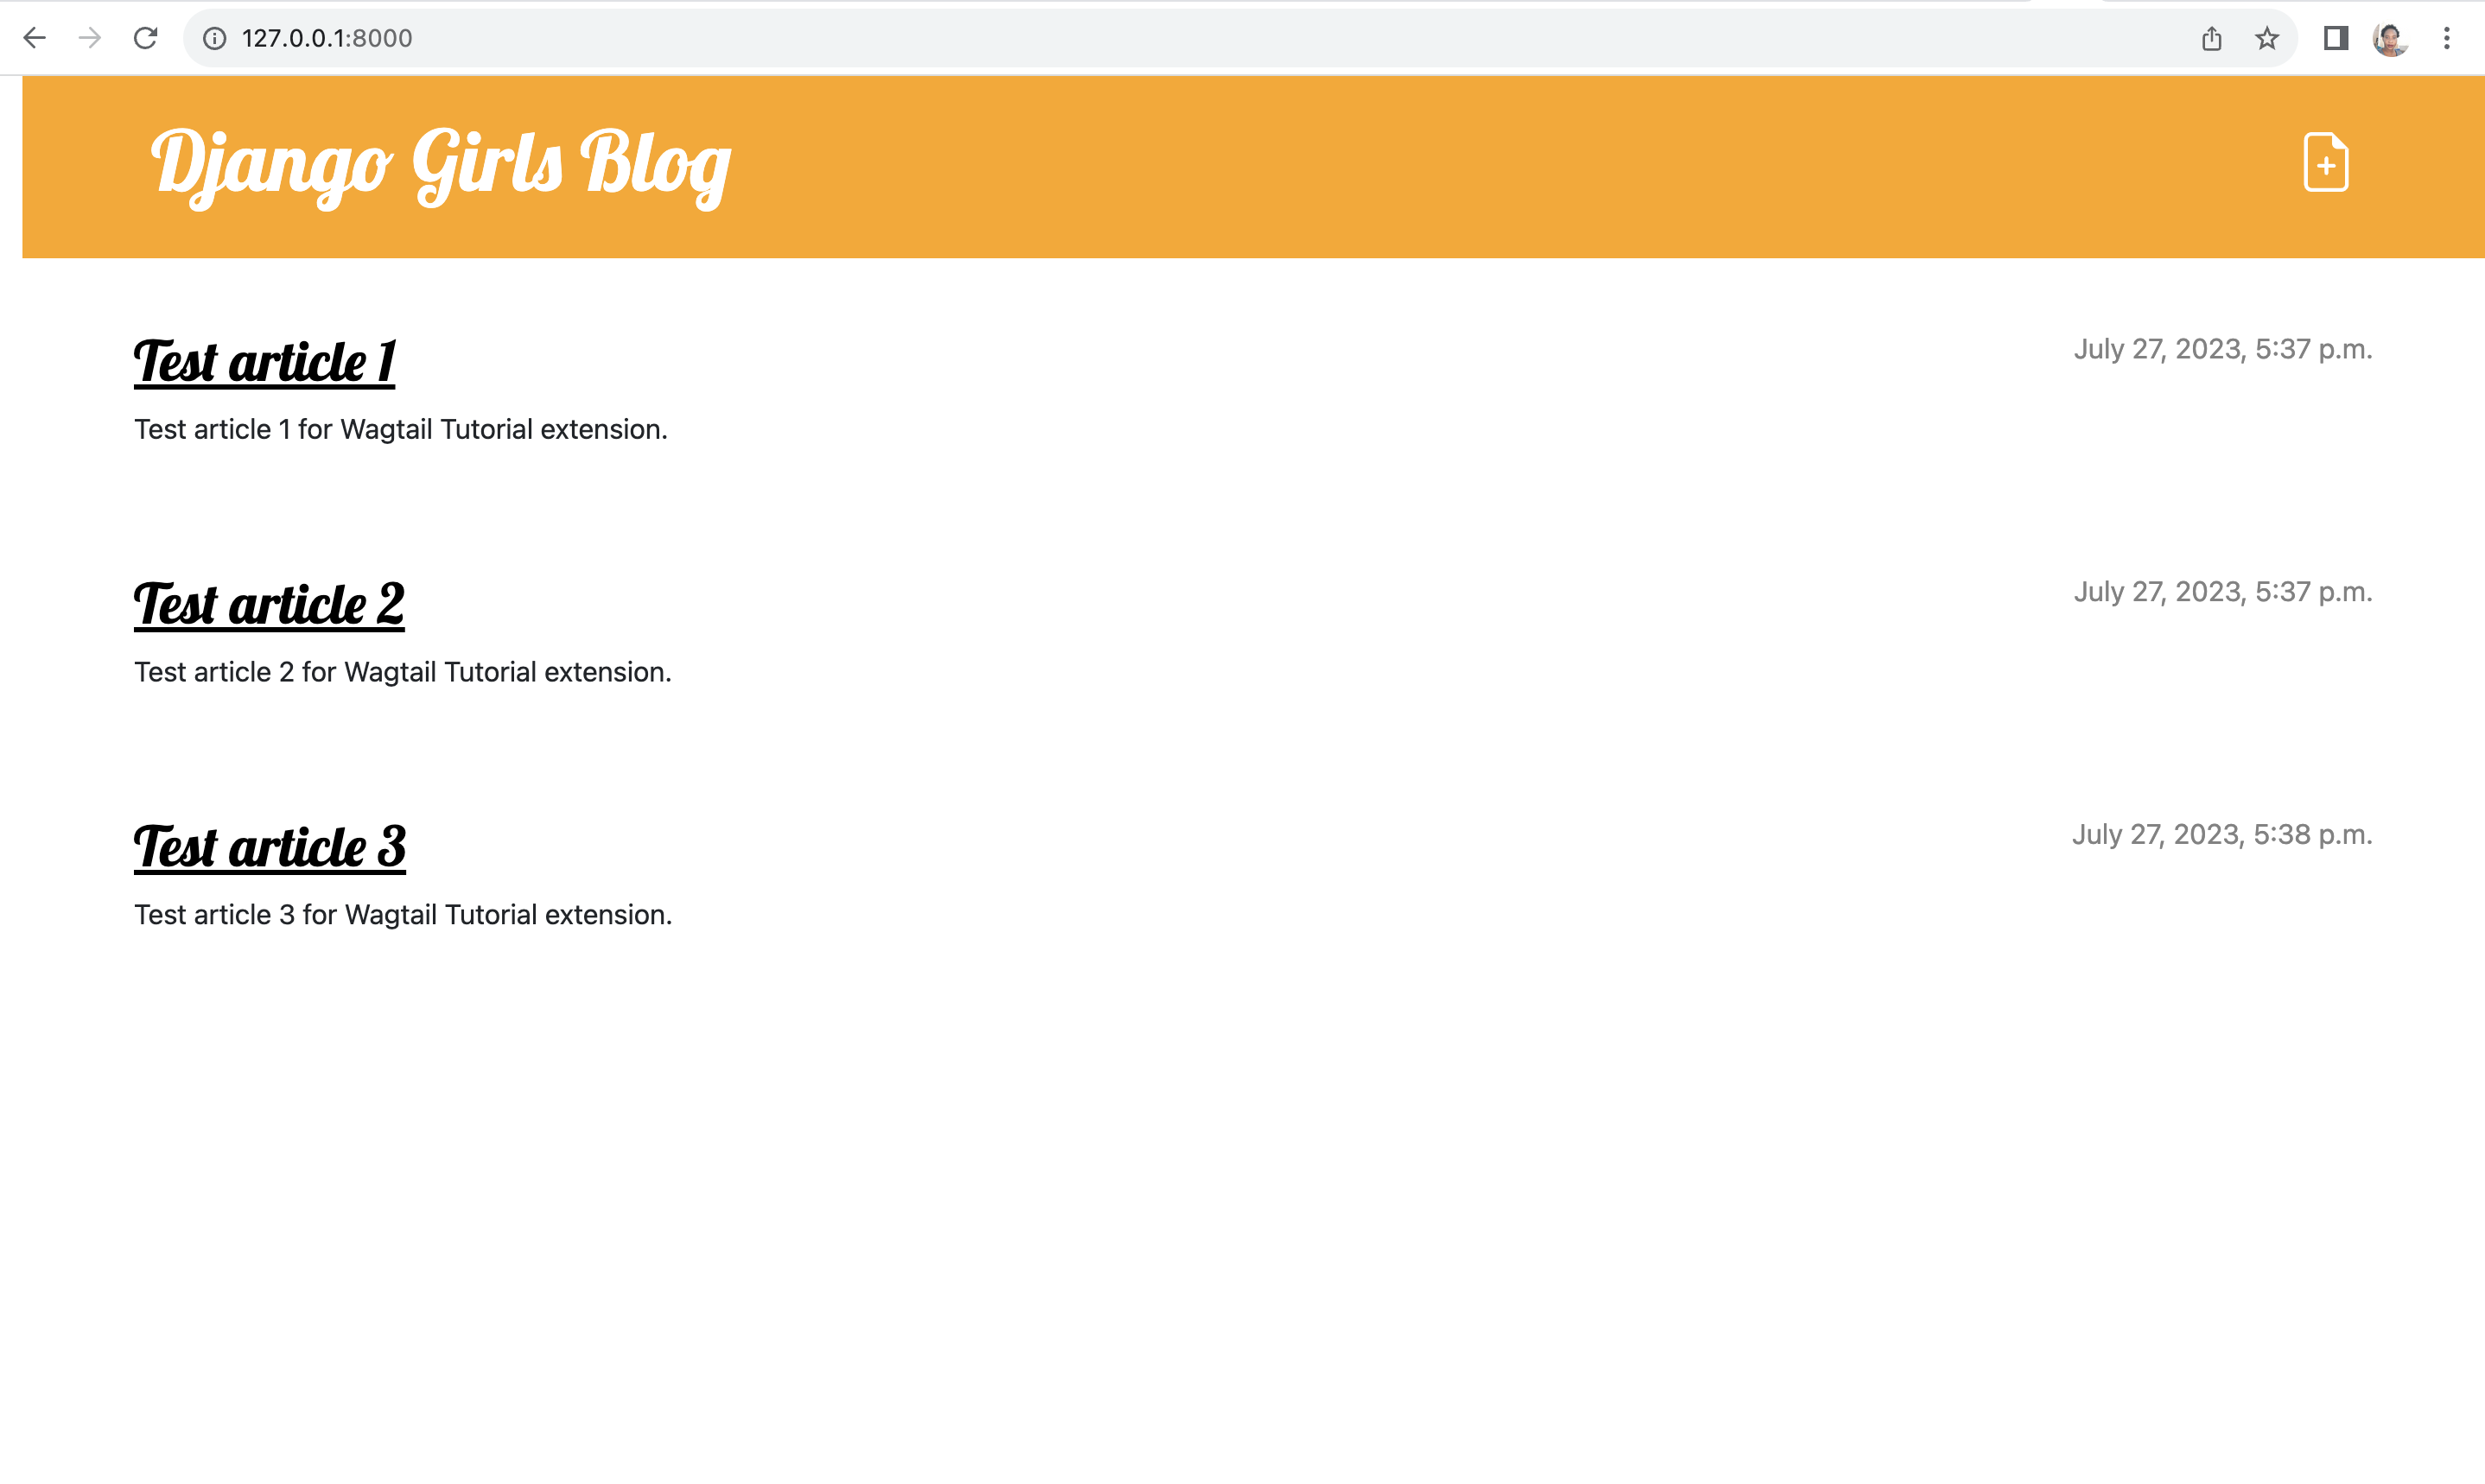
To start off, we have a blog homepage that looks like below:
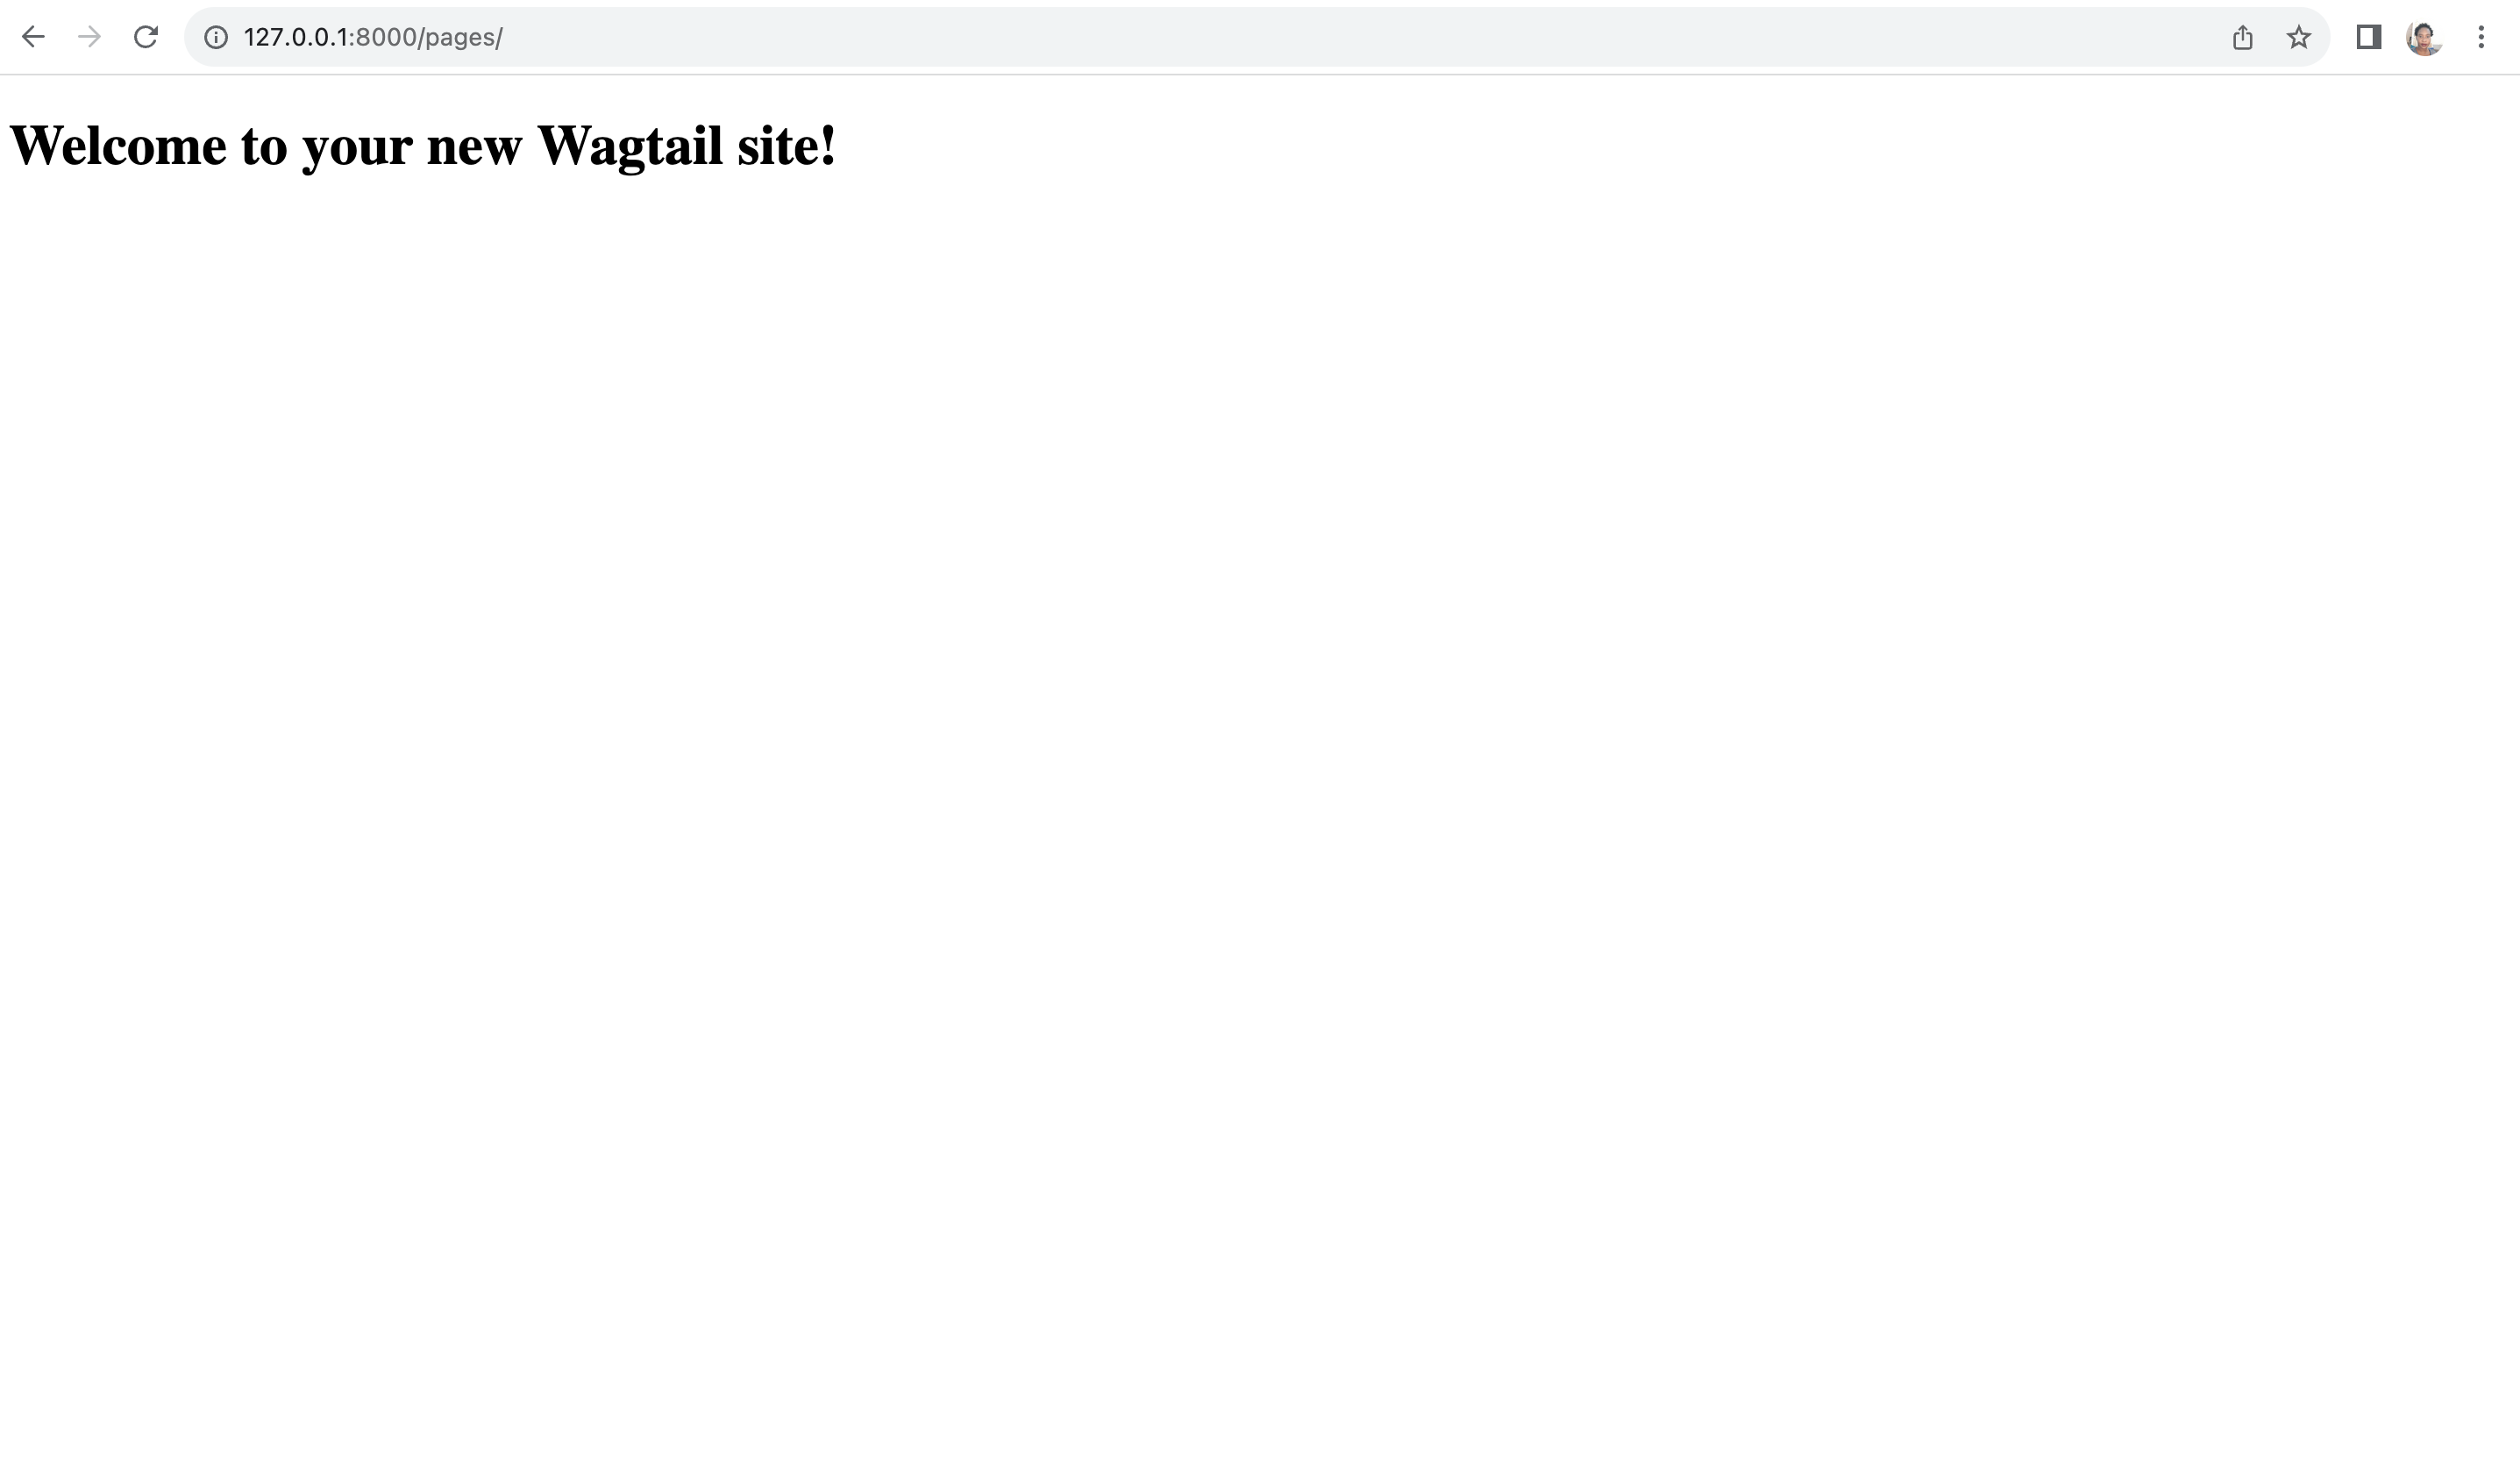
and Wagtail homepage that looks like below:
We need to refactor our code and make changes to it so that our Wagtail homepage looks like our blog homepage. We also want to end up with the blog using Wagtail instead of the views and URLs we already have.
Let's get started!
Creating the Wagtail blog homepage
For now our blog/models.py looks like below:
blog/models.py
from django.conf import settings
from django.db import models
from django.utils import timezone


class Post(models.Model):
    author = models.ForeignKey(settings.AUTH_USER_MODEL, on_delete=models.CASCADE)
    title = models.CharField(max_length=200)
    text = models.TextField()
    created_date = models.DateTimeField(default=timezone.now)
    published_date = models.DateTimeField(blank=True, null=True)

    def publish(self):
        self.published_date = timezone.now()
        self.save()

    def __str__(self):
        return self.title
We first need to add a model to define the homepage for our Wagtail site that extends the Wagtail model Page. We will
start by making the following imports:
from wagtail.models import Page
from wagtail.fields import RichTextField
from wagtail.admin.panels import FieldPanel
Next we need to define the HomePage model to blog/models.py. This will serve our Wagtail blog home page.
We will add the following lines to it.
class HomePage(Page):
    intro = RichTextField(blank=True)

    content_panels = Page.content_panels + [
        FieldPanel('intro')
    ]
We can now run the following command to make the migrations for HomePage
(myvenv) ~/djangogirls$ python3 manage.py makemigrations
and the migrate command to create the HomePage model as shown below:
(myvenv) ~/djangogirls$ python3 manage.py migrate
Django experts an HTML template that matches the model name, so in this case, the template should be
home_page.html unless we override it, which we will not do for now. We therefore need to create the template in
the blog/templates/blog/home_page.html.
Create a new HTML file in blog/templates/blog and name it home_page.html. Create another HTML file in
blog/templates/blog and name it wagtail_base.html.
In your blog/templates/blog/wagtail_base.html, write the following code:
wagtail_base.html
<!DOCTYPE html>
<html lang="en">
<head>
    <meta charset="UTF-8">
    <title>Our Wagtail Blog</title>
</head>
<body>
    <div>
        {% block content %}

        {% endblock %}
    </div>
</body>
</html>
In your blog/templates/blog/home_page.html, write the following code:
home_page.html
{% extends "blog/wagtail_base.html" %}

{% load wagtailcore_tags %}

{% block body_class %}template-blogindexpage{% endblock %}

{% block content %}
    <h1>{{ page.title }}</h1>

    <div class="intro">{{ page.intro|richtext }}</div>

    {% for post in page.get_children %}
        <article class="post">
            <time class="date">
                {{ post.first_published_at }}
            </time>
            <h2><a href="{% pageurl post %}">{{ post.title }}</a></h2>
            {{ post.specific.intro }}
            {{ post.specific.body|richtext }}
        </article>
    {% endfor %}
{% endblock %}
Let's explain a few new terms. The pageurl tag, is similar to Django’s url tag but takes a Wagtail Page object as
an argument. The get_children method gets a queryset of all the children of the homepage. This way we are able to
display them on the homepage. For now, our blog doesn't have any children so no posts will be displayed on the homepage.
Changing the Wagtail Homepage
Now that we have created our homepage model and created the templates, we are ready to change our homepage from the default provided by Wagtail and use our newly created homepage.
Let's visit http://127.0.0.1:8000/cms/ to access our Wagtail admin.
From here, click on Pages and click on the pen icon to edit the only page that is there, the
Welcome to your new Wagtail site!.
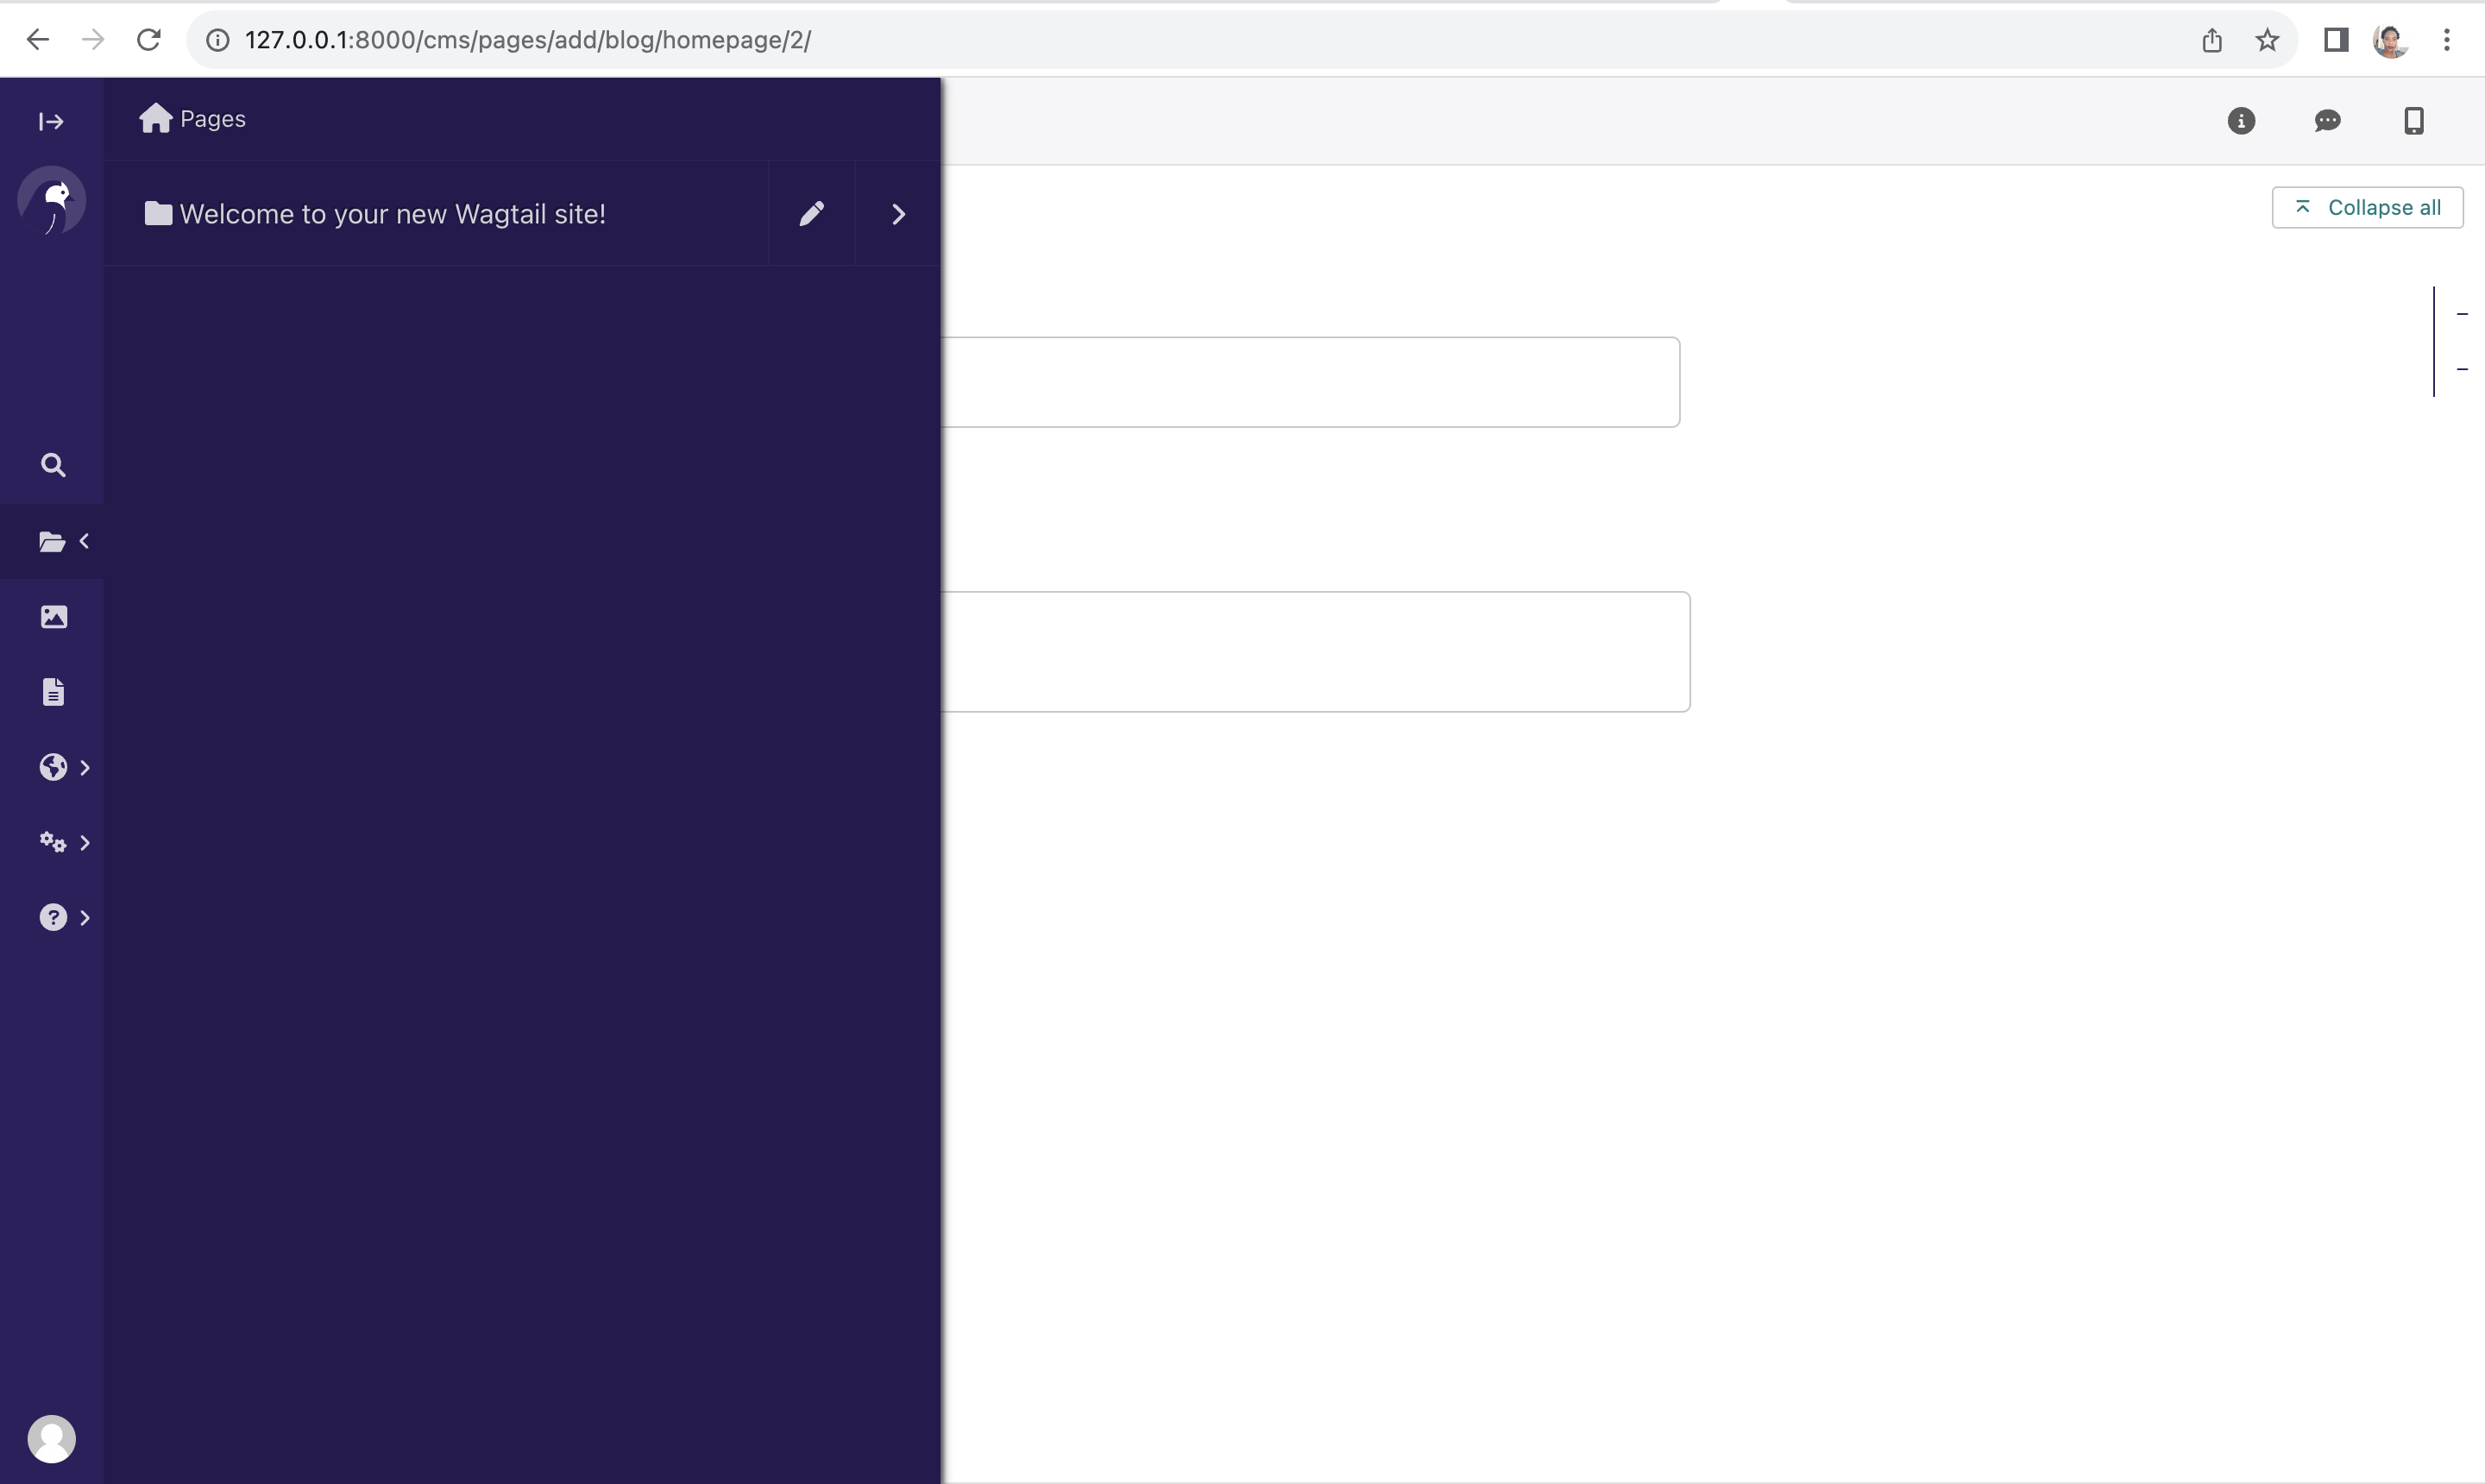
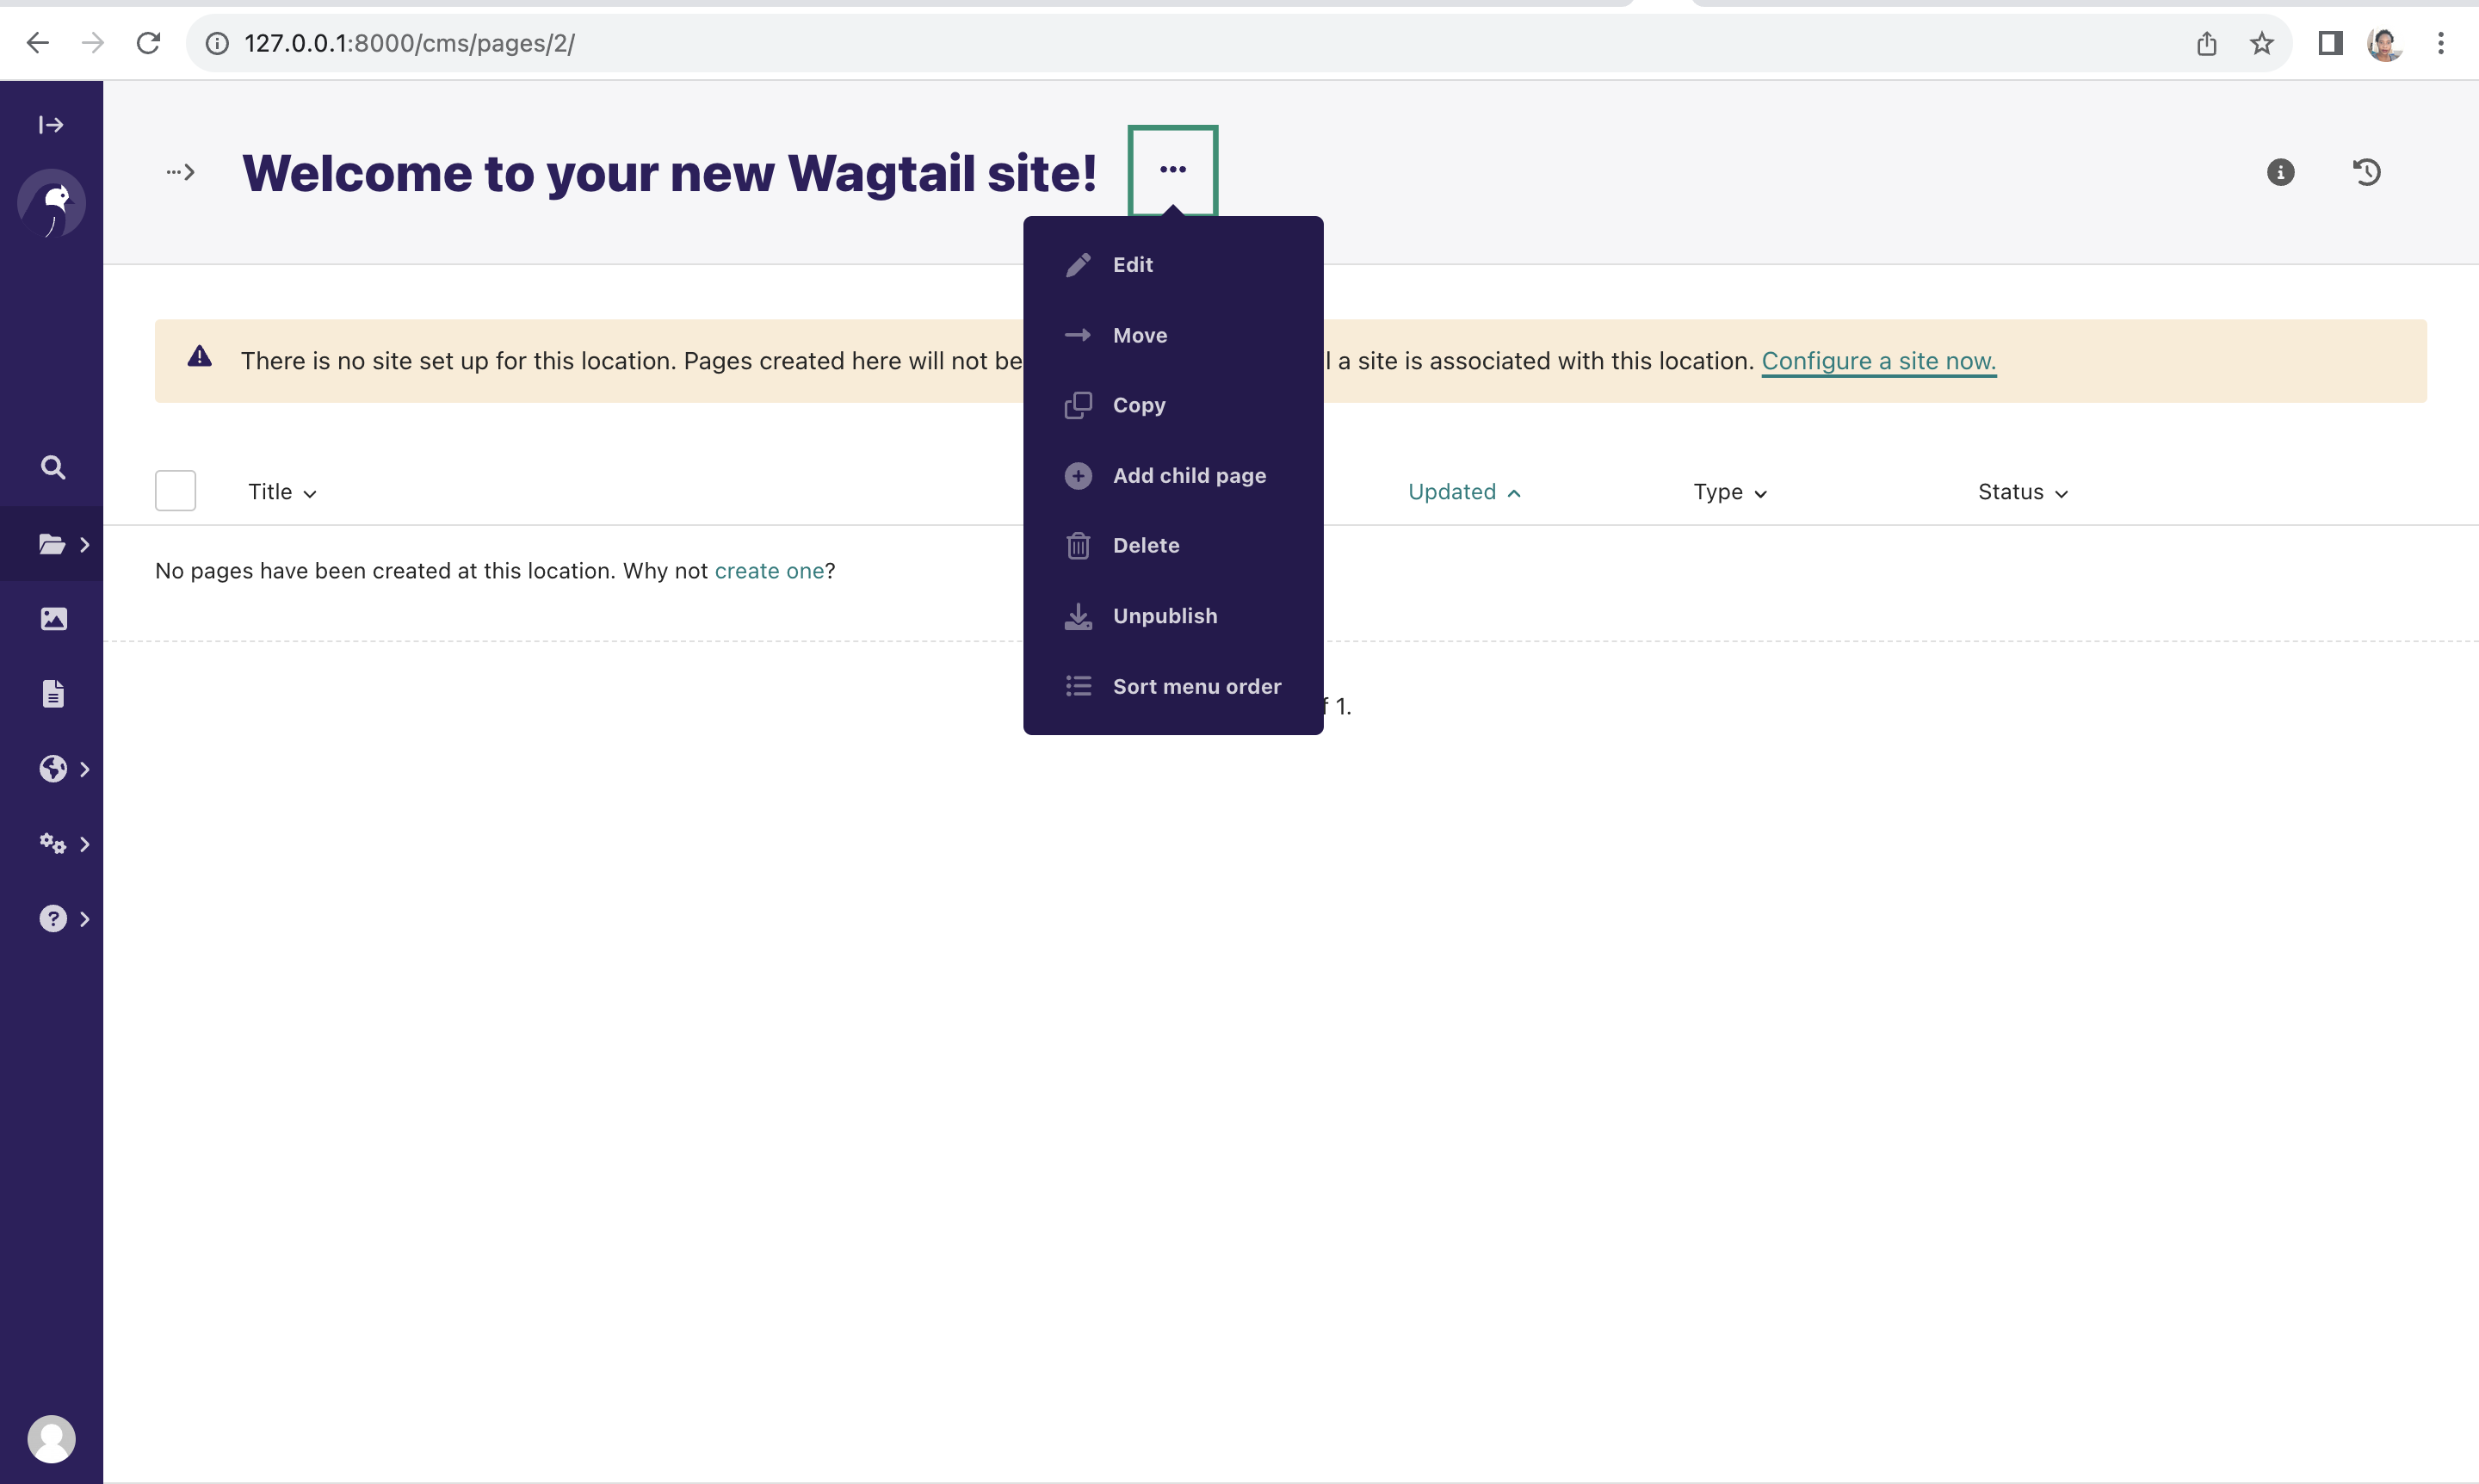
Once you open this page, click on the menu icon and select Add Child Page and select the newly created Home page.
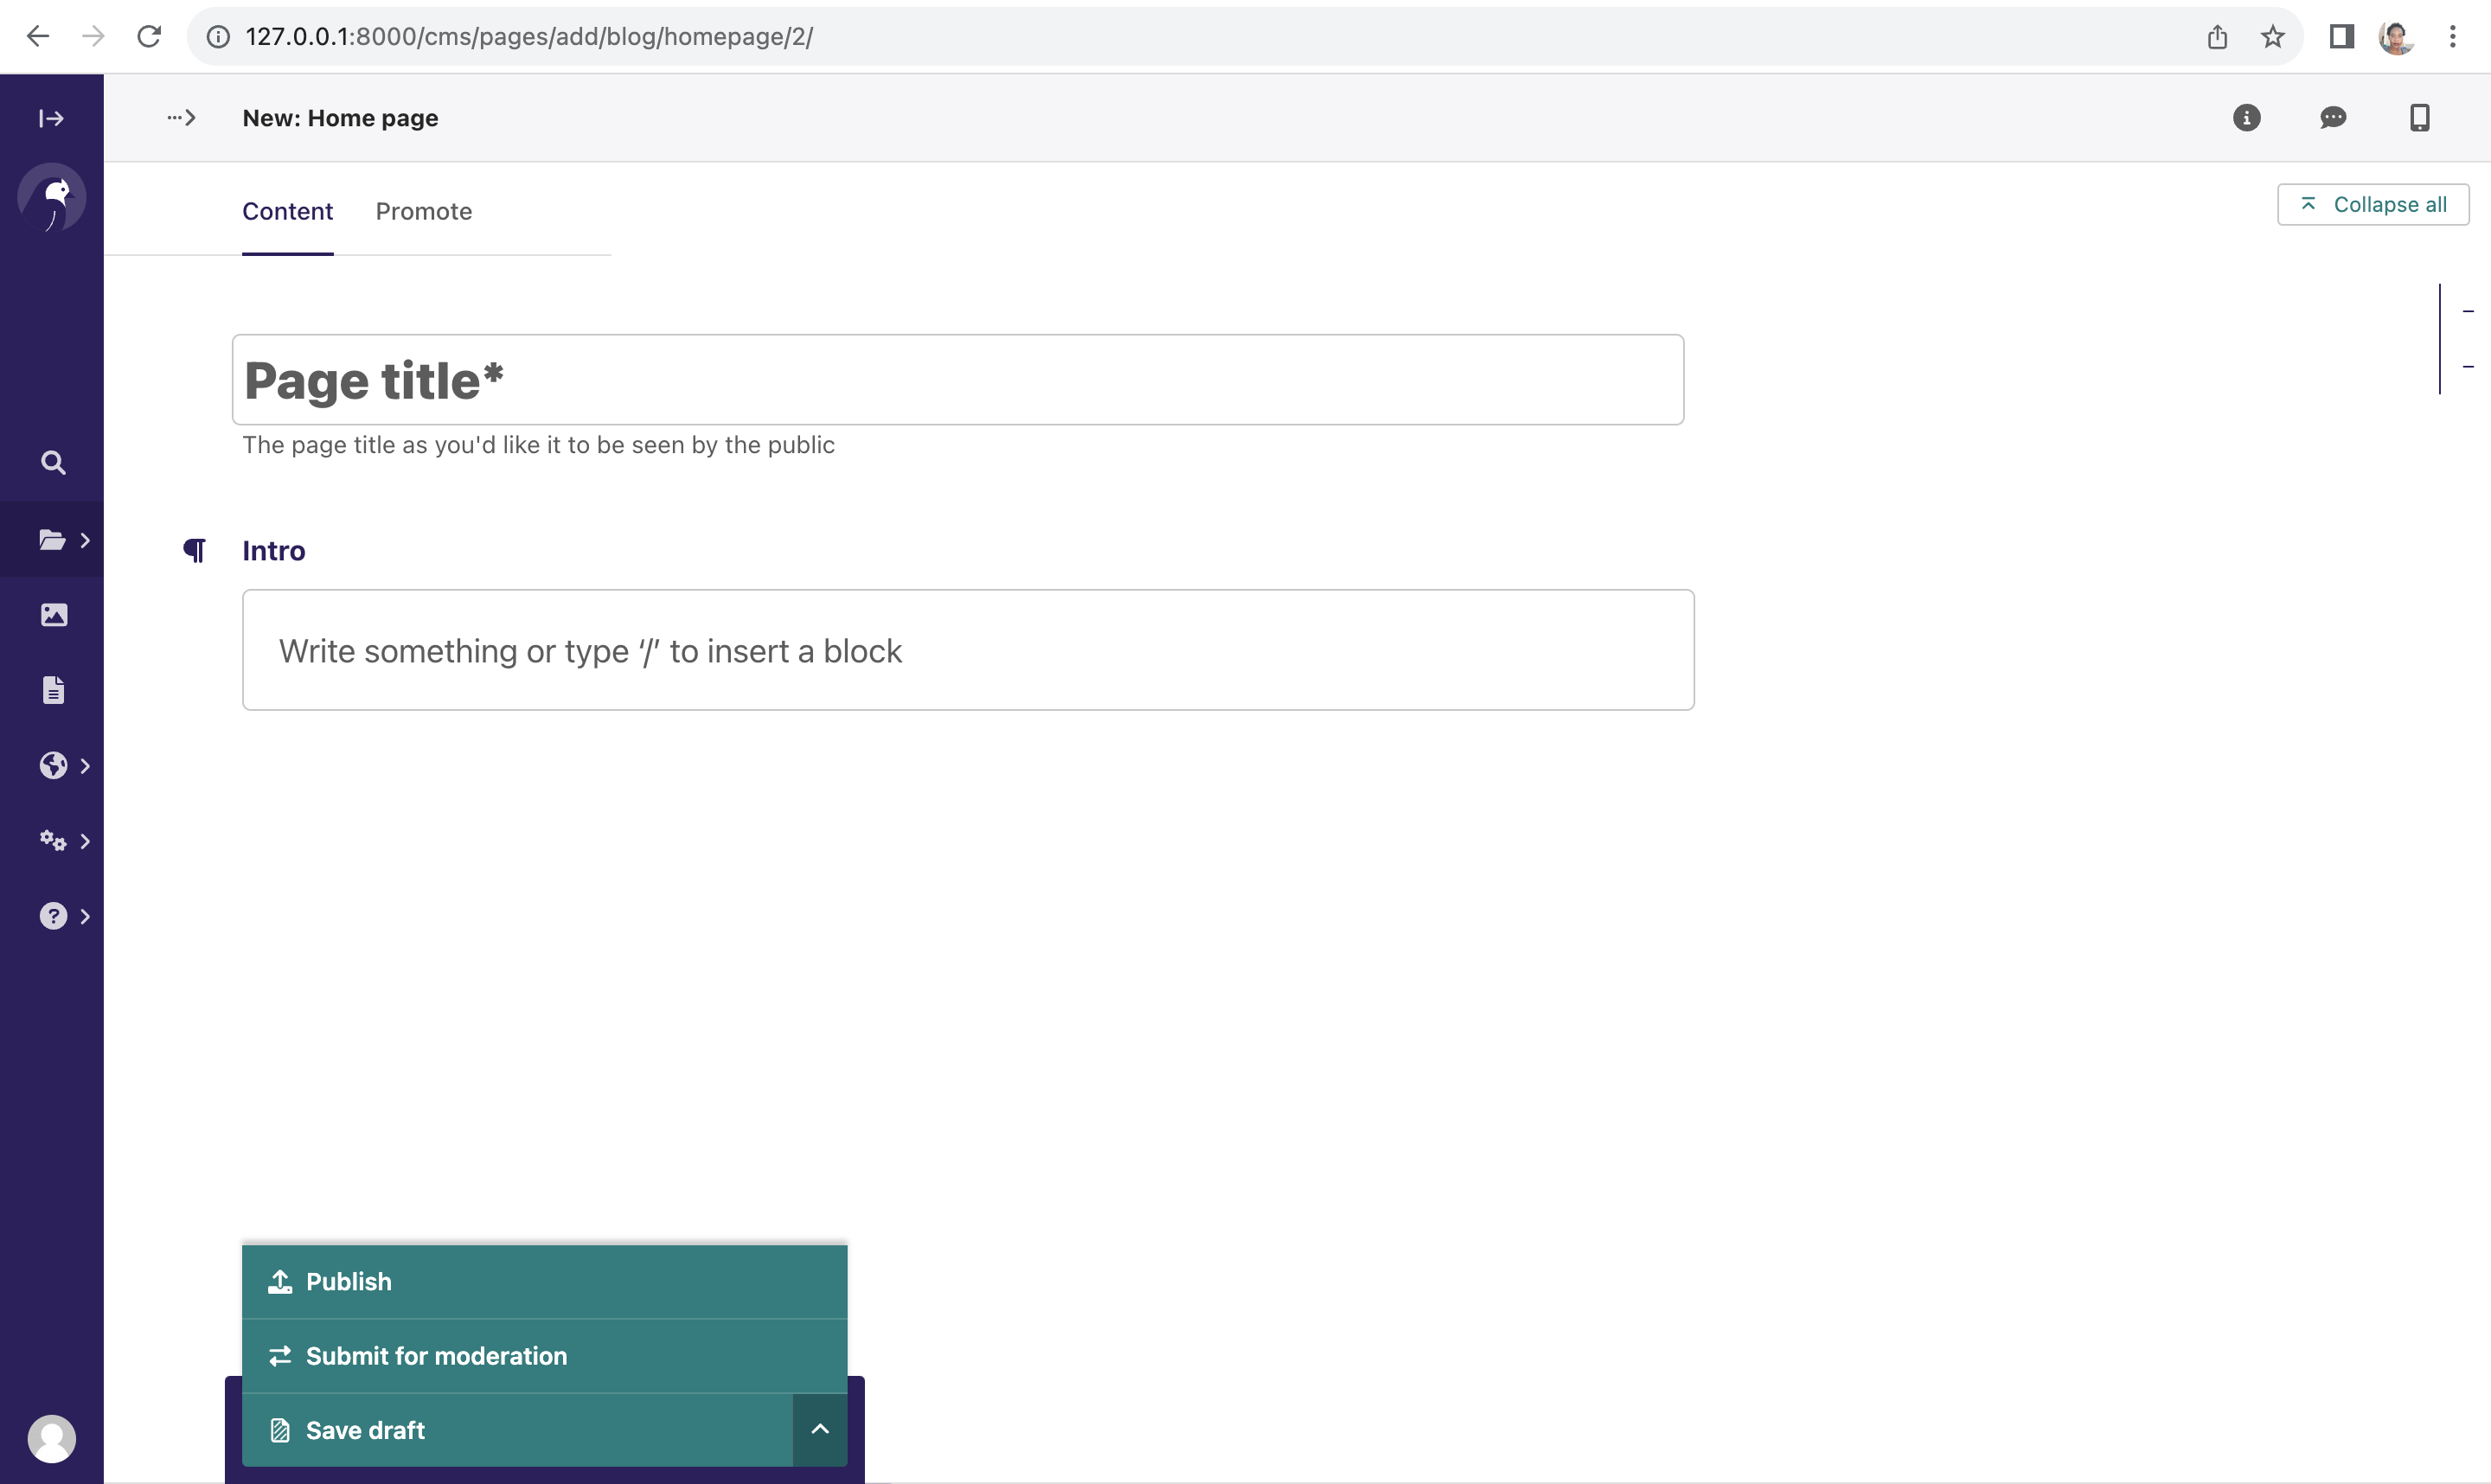
Enter the title and content and then click Publish to save the content and publish the page. Notice how we do not have
a publish() method in our model because the Wagtail base class Page model which we inherit from already takes care
of that for us. Therefore we do not need to do extra work to ensure we can publish posts while saving the timestamp for when
the post was published.
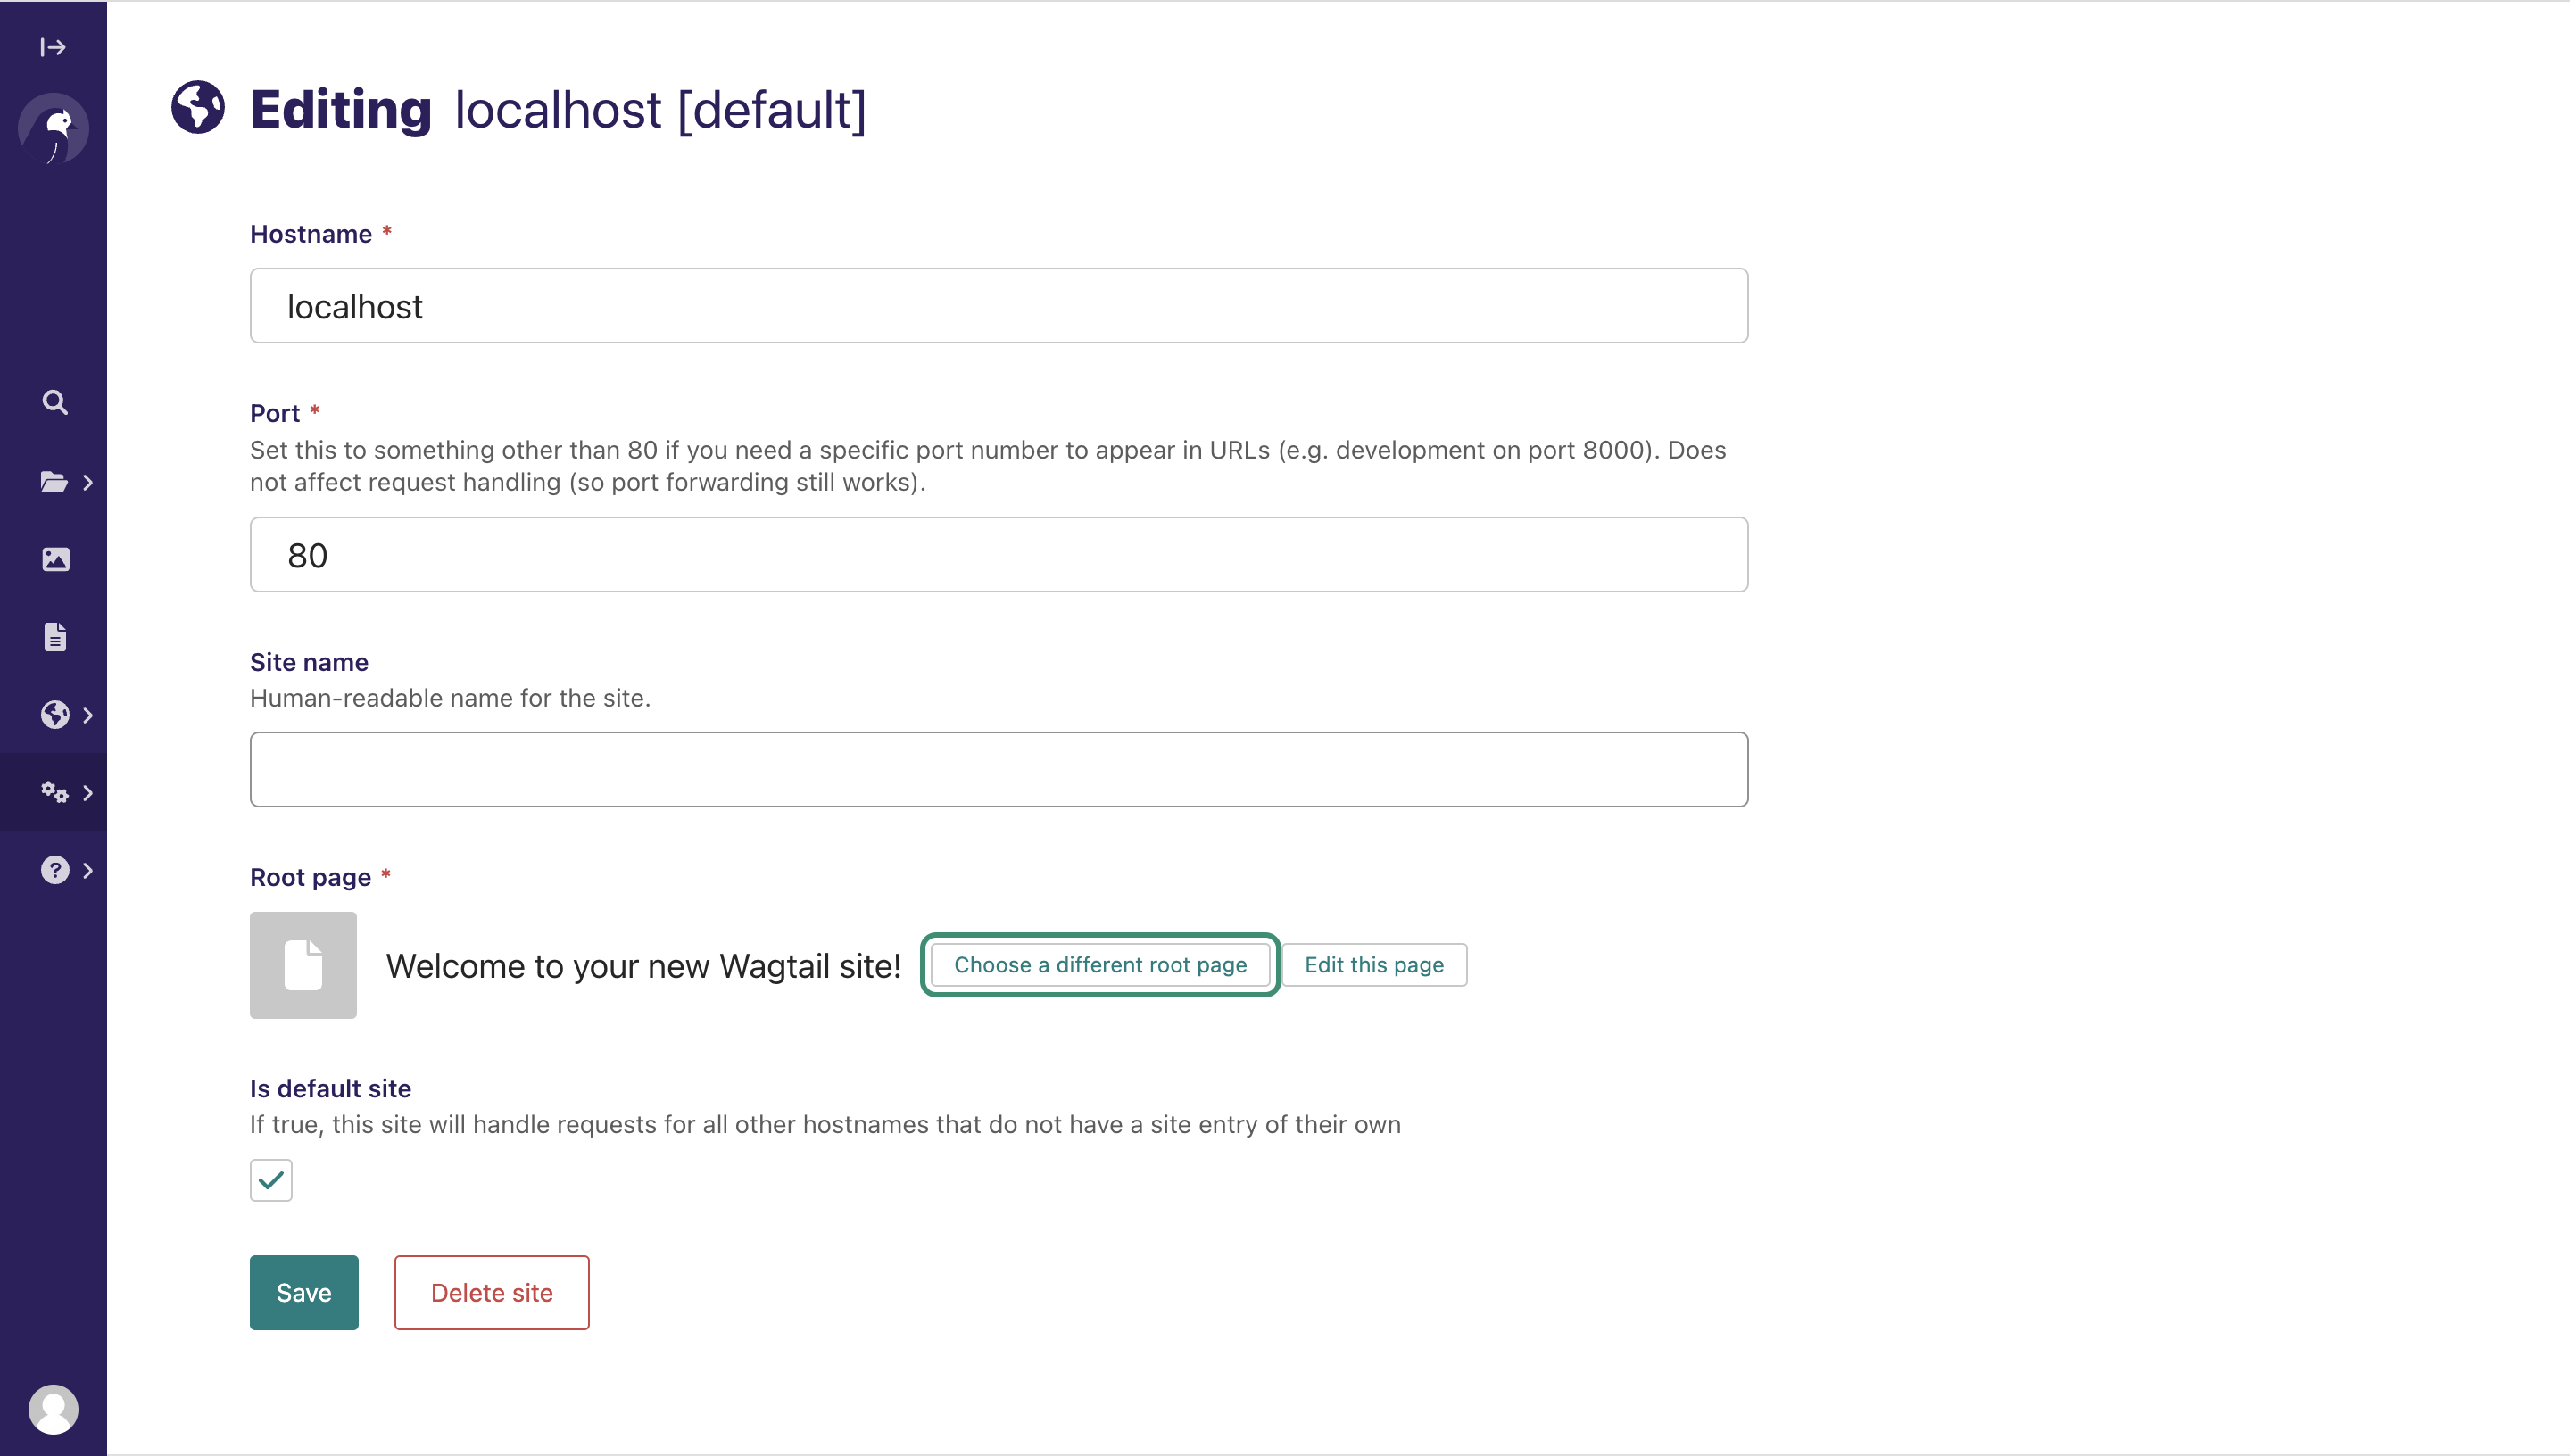
After this, you need to edit the site to point to the newly created page by making the new homepage the root page for
the site. To do this, you need to click on Settings then Sites, and click the default site, localhost that
already exists to edit it.
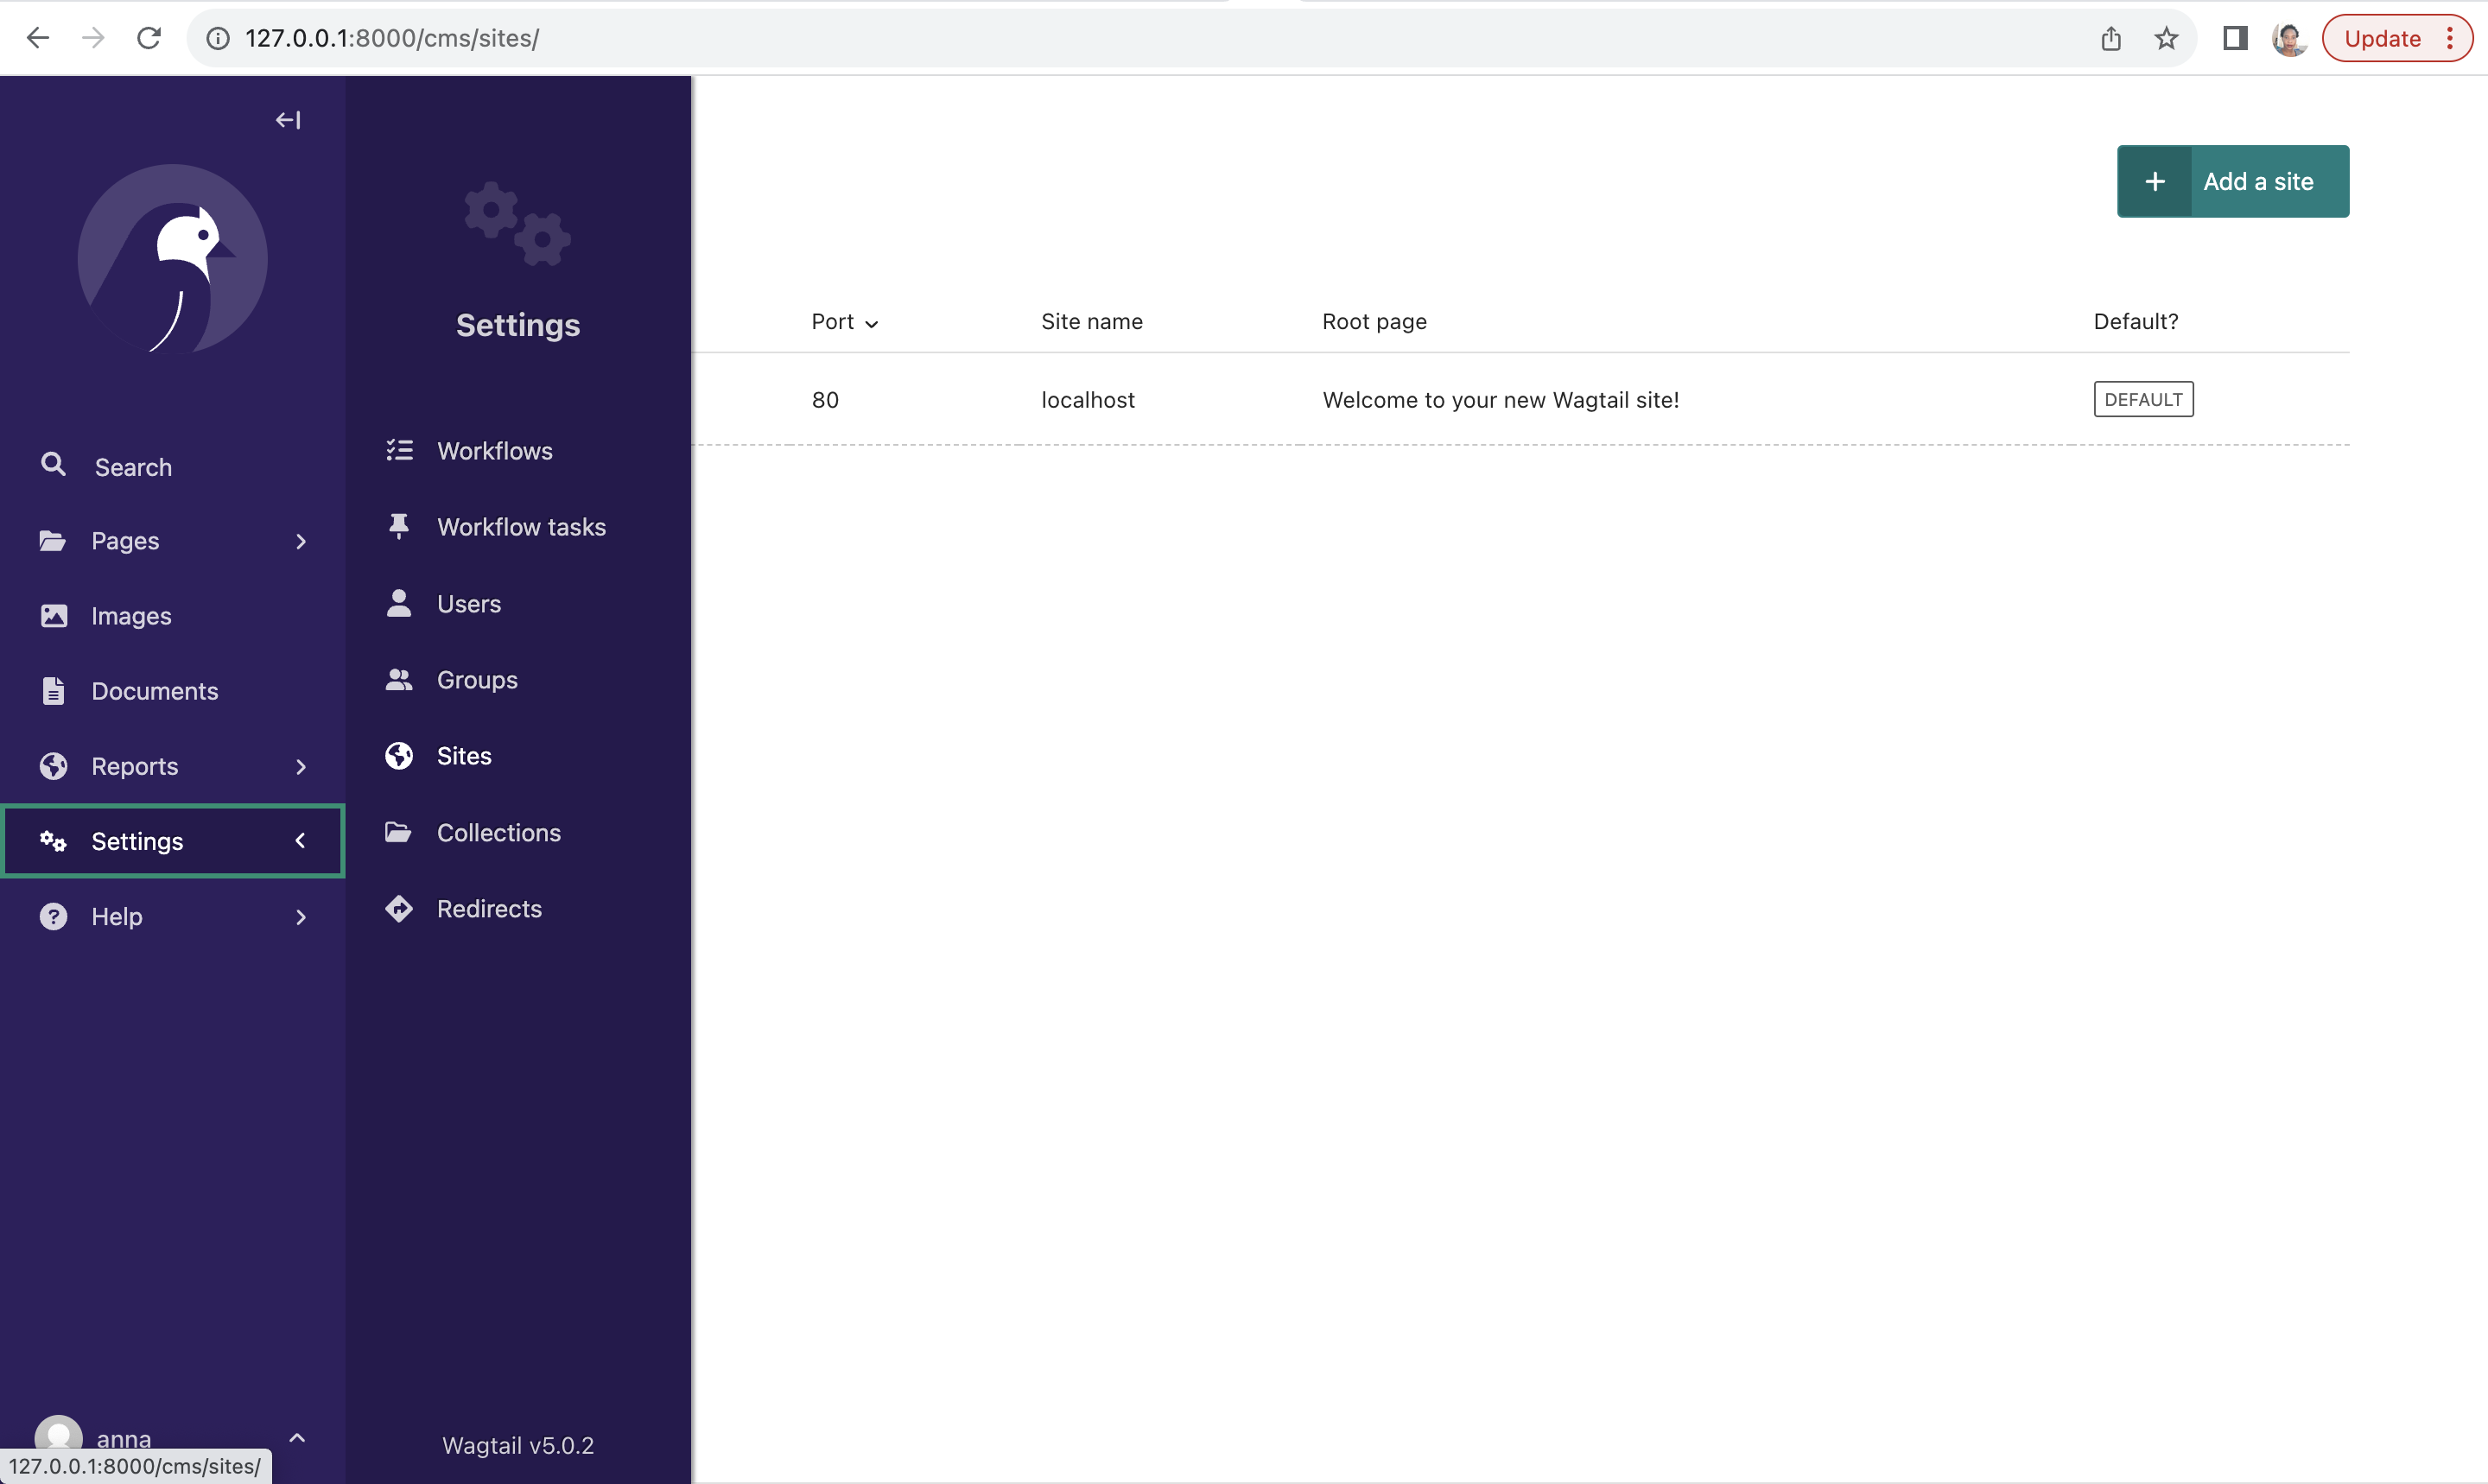
Keep all other values the same and click on Root page to change the root page.
Select the child page you just added as the new root page.
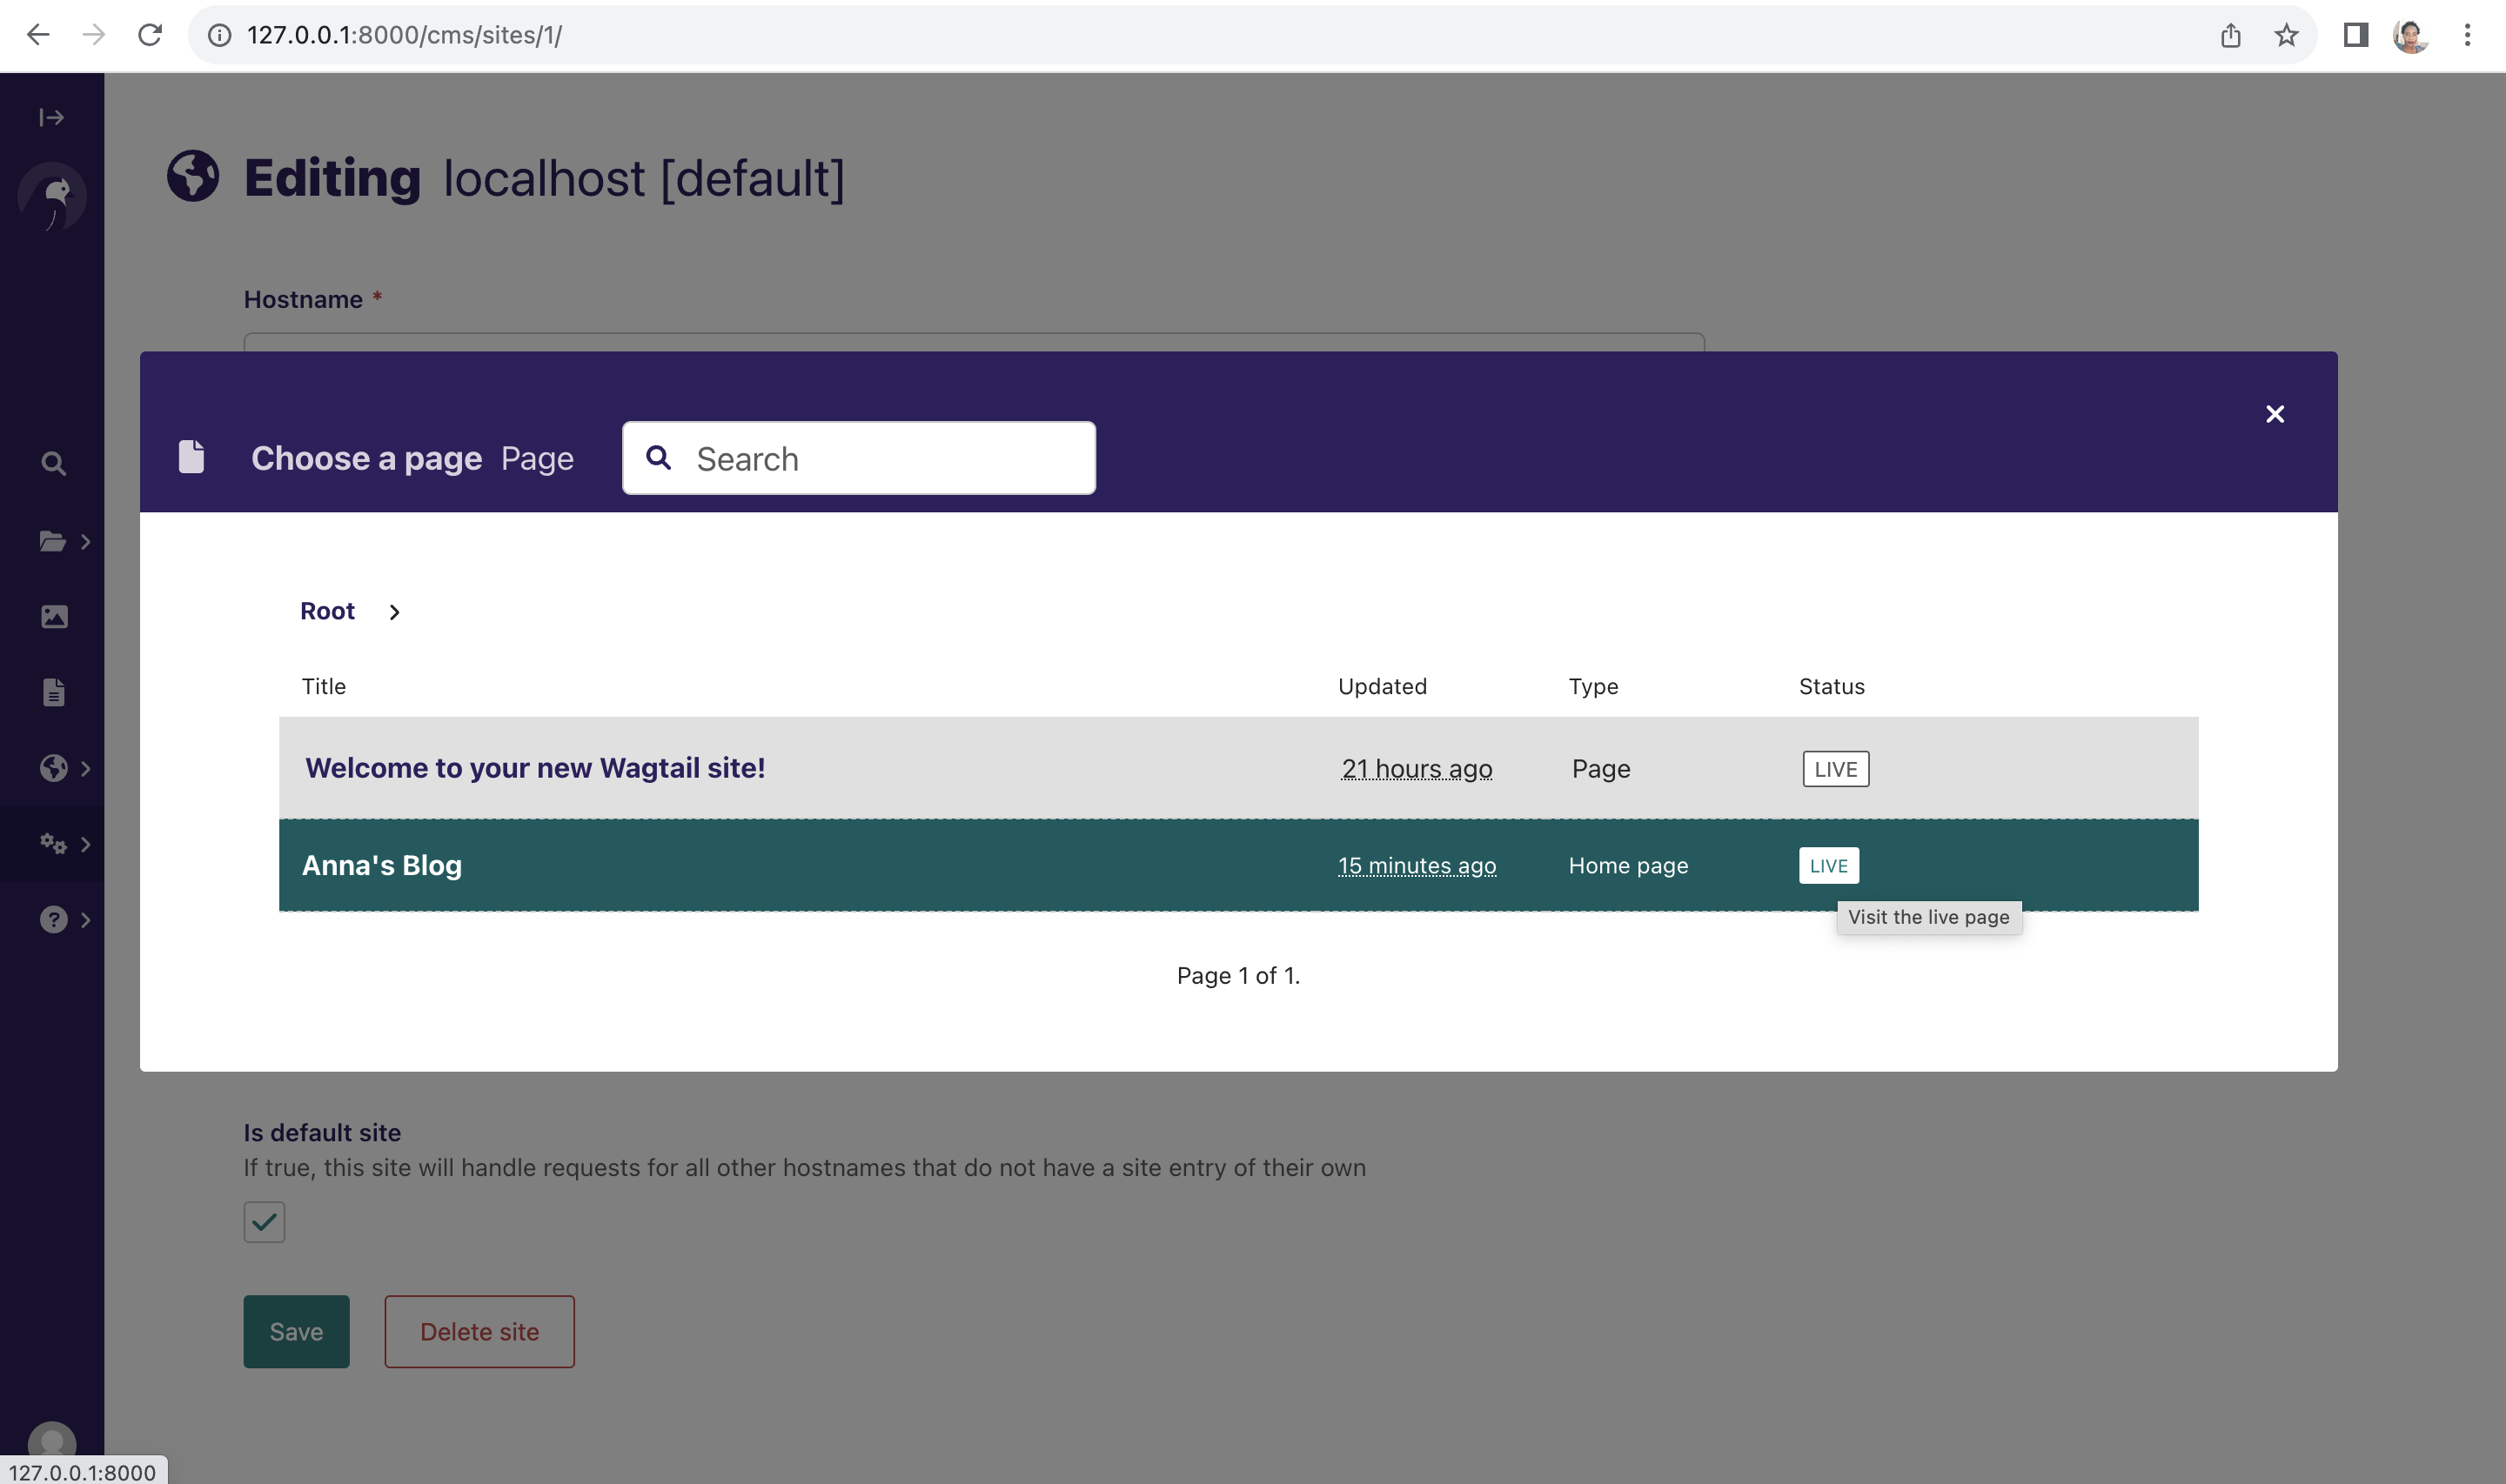
Click Save to update and if you refresh http://127.0.0.1:8000/pages/ you should now see the new homepage.
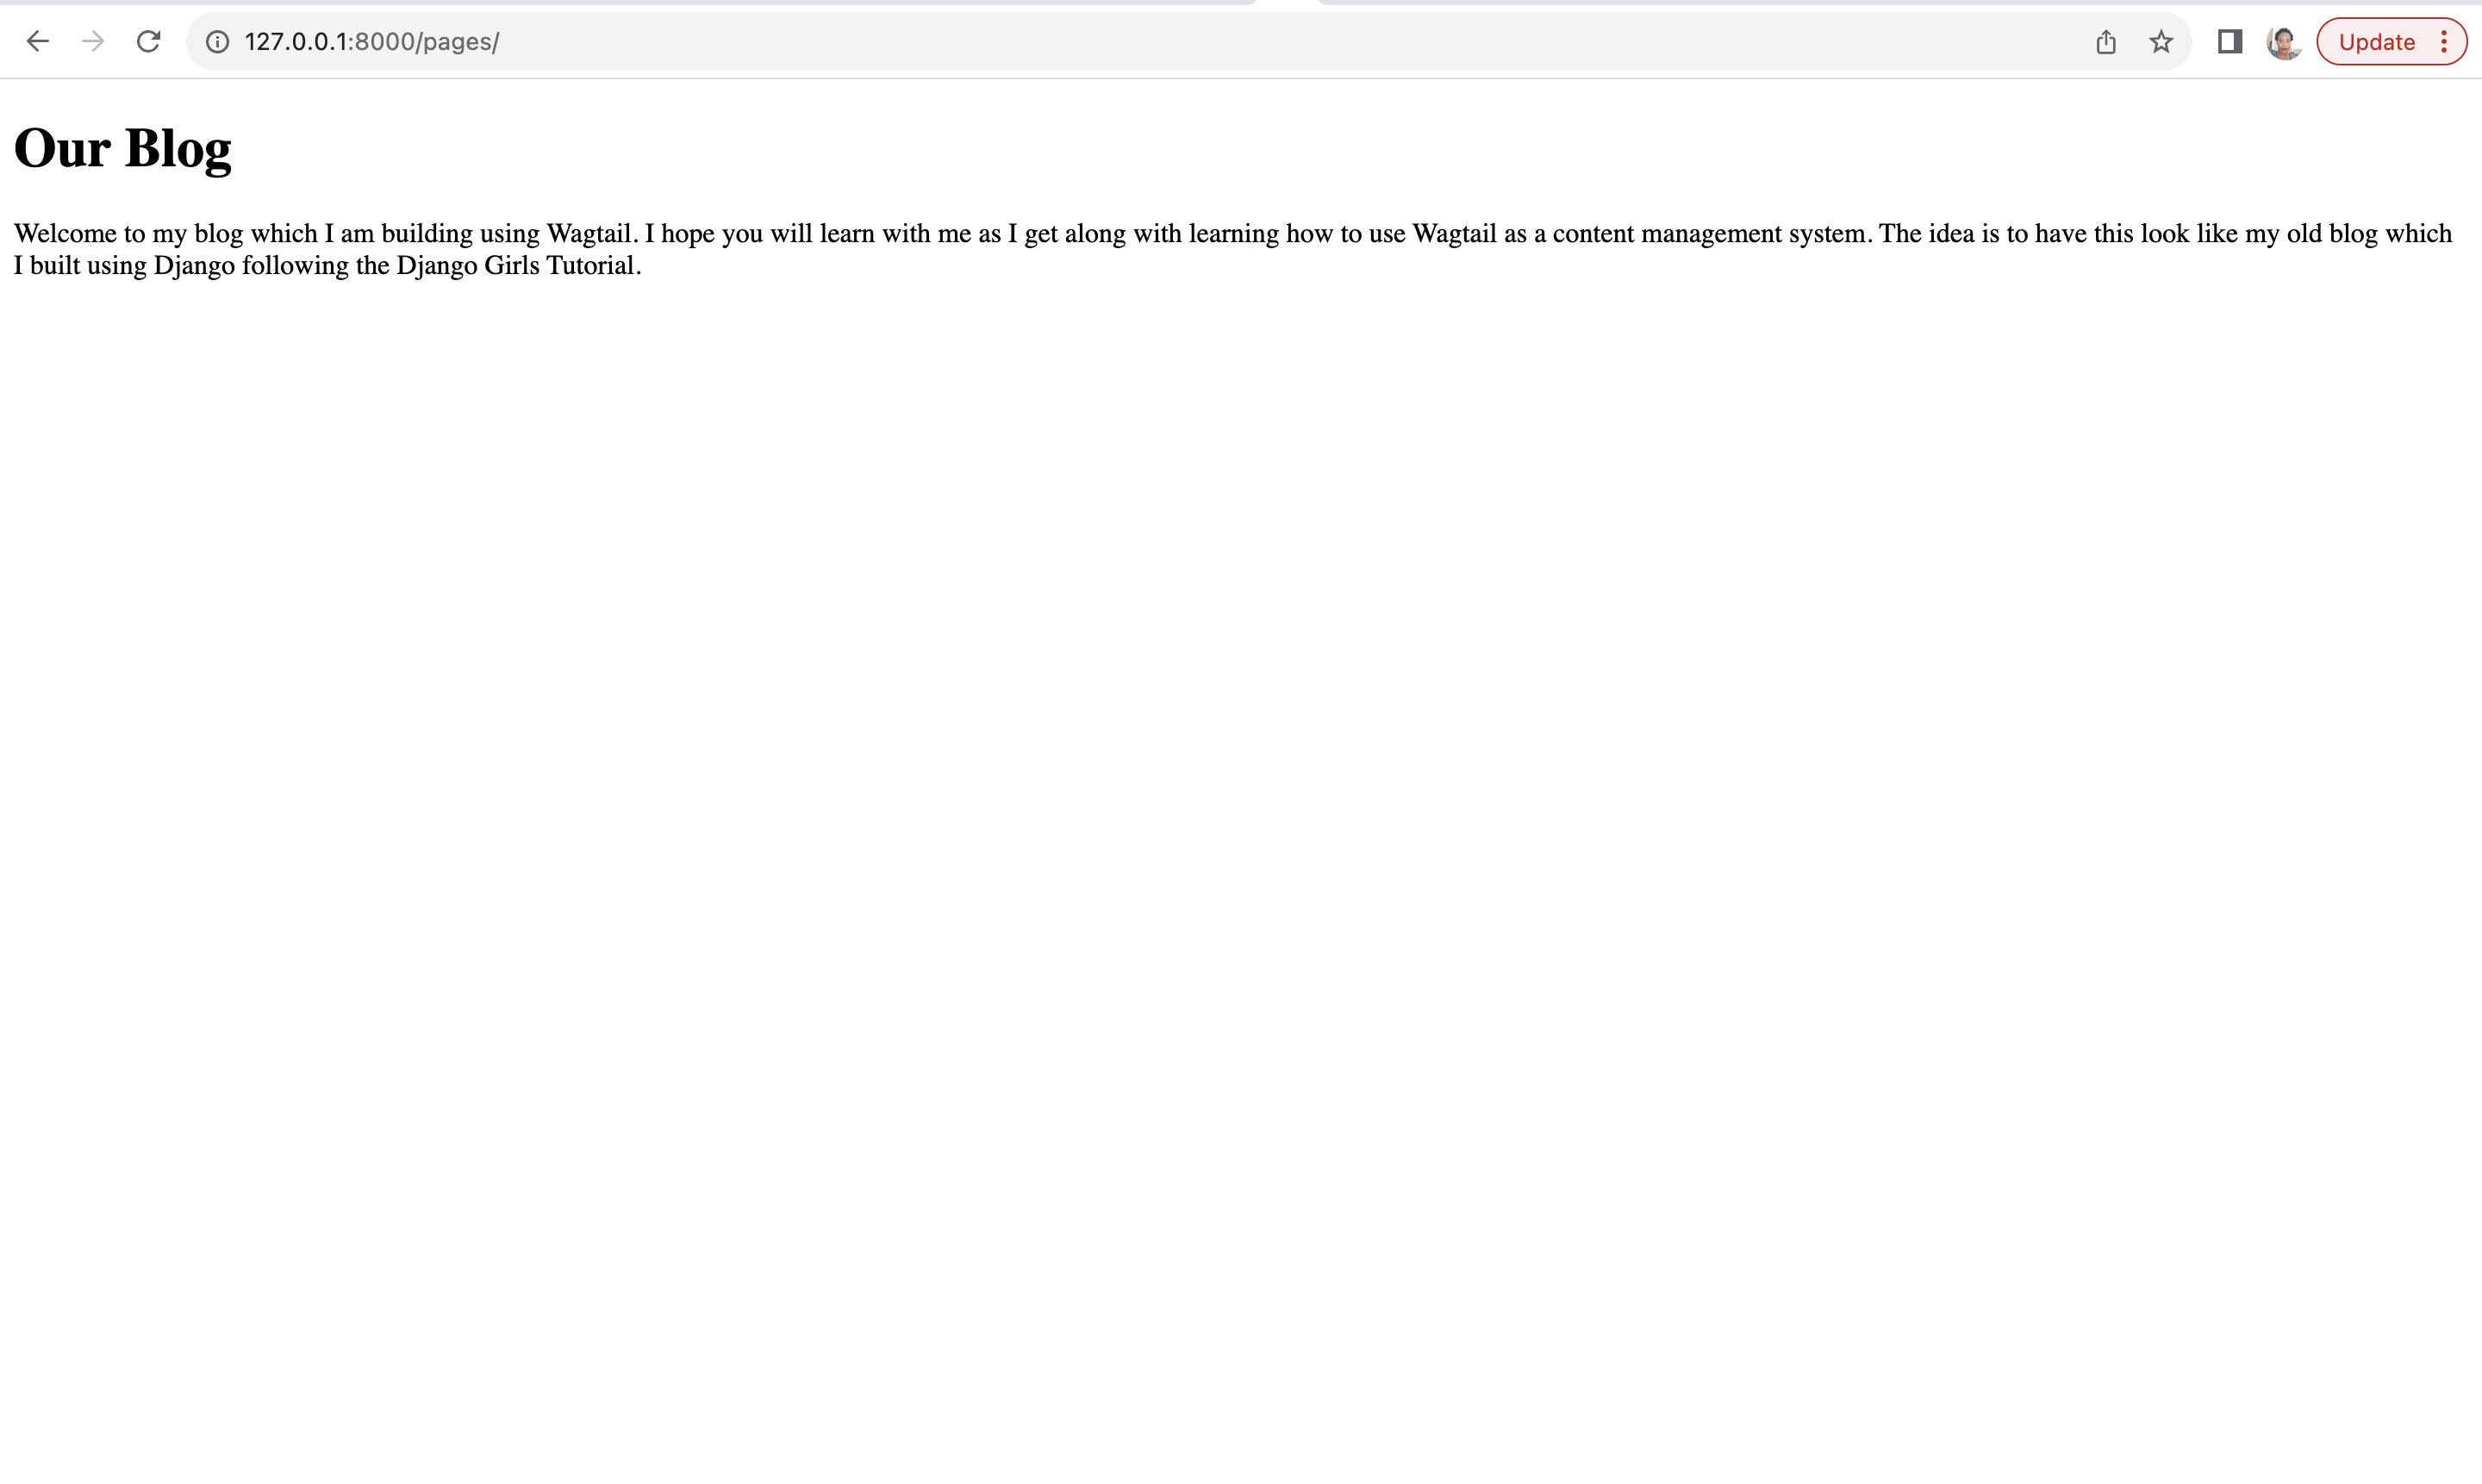
Now that we have changed the homepage of our Wagtail blog, let's update the layout to match the blog we developed previously following the main tutorial.
Adding CSS Styling to the Wagtail Site
We need to add Bootstrap styling as well as our own style we already wrote to blog/templates/blog/layout.html. We
will copy the lines below from blog/templates/blog/base.html to add CSS styling to our new blog.
{% load static %}
<link rel="stylesheet" href="https://cdn.jsdelivr.net/npm/bootstrap@5.1.3/dist/css/bootstrap.min.css"
      integrity="sha384-1BmE4kWBq78iYhFldvKuhfTAU6auU8tT94WrHftjDbrCEXSU1oBoqyl2QvZ6jIW3" crossorigin="anonymous">
<link href="//fonts.googleapis.com/css?family=Lobster&subset=latin,latin-ext" rel="stylesheet" type="text/css">
<link rel="stylesheet" href="{% static 'css/blog.css' %}">
We will also add the page header to the page by adding the lines of code below to our wagtail_base.html.
<header class="page-header">
    <div class="container">
        <h1><a href="/">Django Girls Blog</a></h1>
    </div>
</header>
Let's also add the CSS class container to our div for the content as shown below:
<div class="container">
    {% block content %}

    {% endblock %}
</div>
Our layout file should now look like below:
wagtail_base.html
<!DOCTYPE html>
<html lang="en">
<head>
    <meta charset="UTF-8">
    <title>Anna's Wagtail Blog</title>
    {% load static %}
    <link rel="stylesheet" href="https://cdn.jsdelivr.net/npm/bootstrap@5.1.3/dist/css/bootstrap.min.css"
          integrity="sha384-1BmE4kWBq78iYhFldvKuhfTAU6auU8tT94WrHftjDbrCEXSU1oBoqyl2QvZ6jIW3" crossorigin="anonymous">
    <link href="//fonts.googleapis.com/css?family=Lobster&subset=latin,latin-ext" rel="stylesheet" type="text/css">
    <link rel="stylesheet" href="{% static 'css/blog.css' %}">
</head>
<body>
    <header class="page-header">
        <div class="container">
            <h1><a href="/">Django Girls Blog</a></h1>
        </div>
    </header>
    <div class="container">
        {% block content %}

        {% endblock %}
    </div>
</body>
</html>
Let's refresh and see our progress so far.
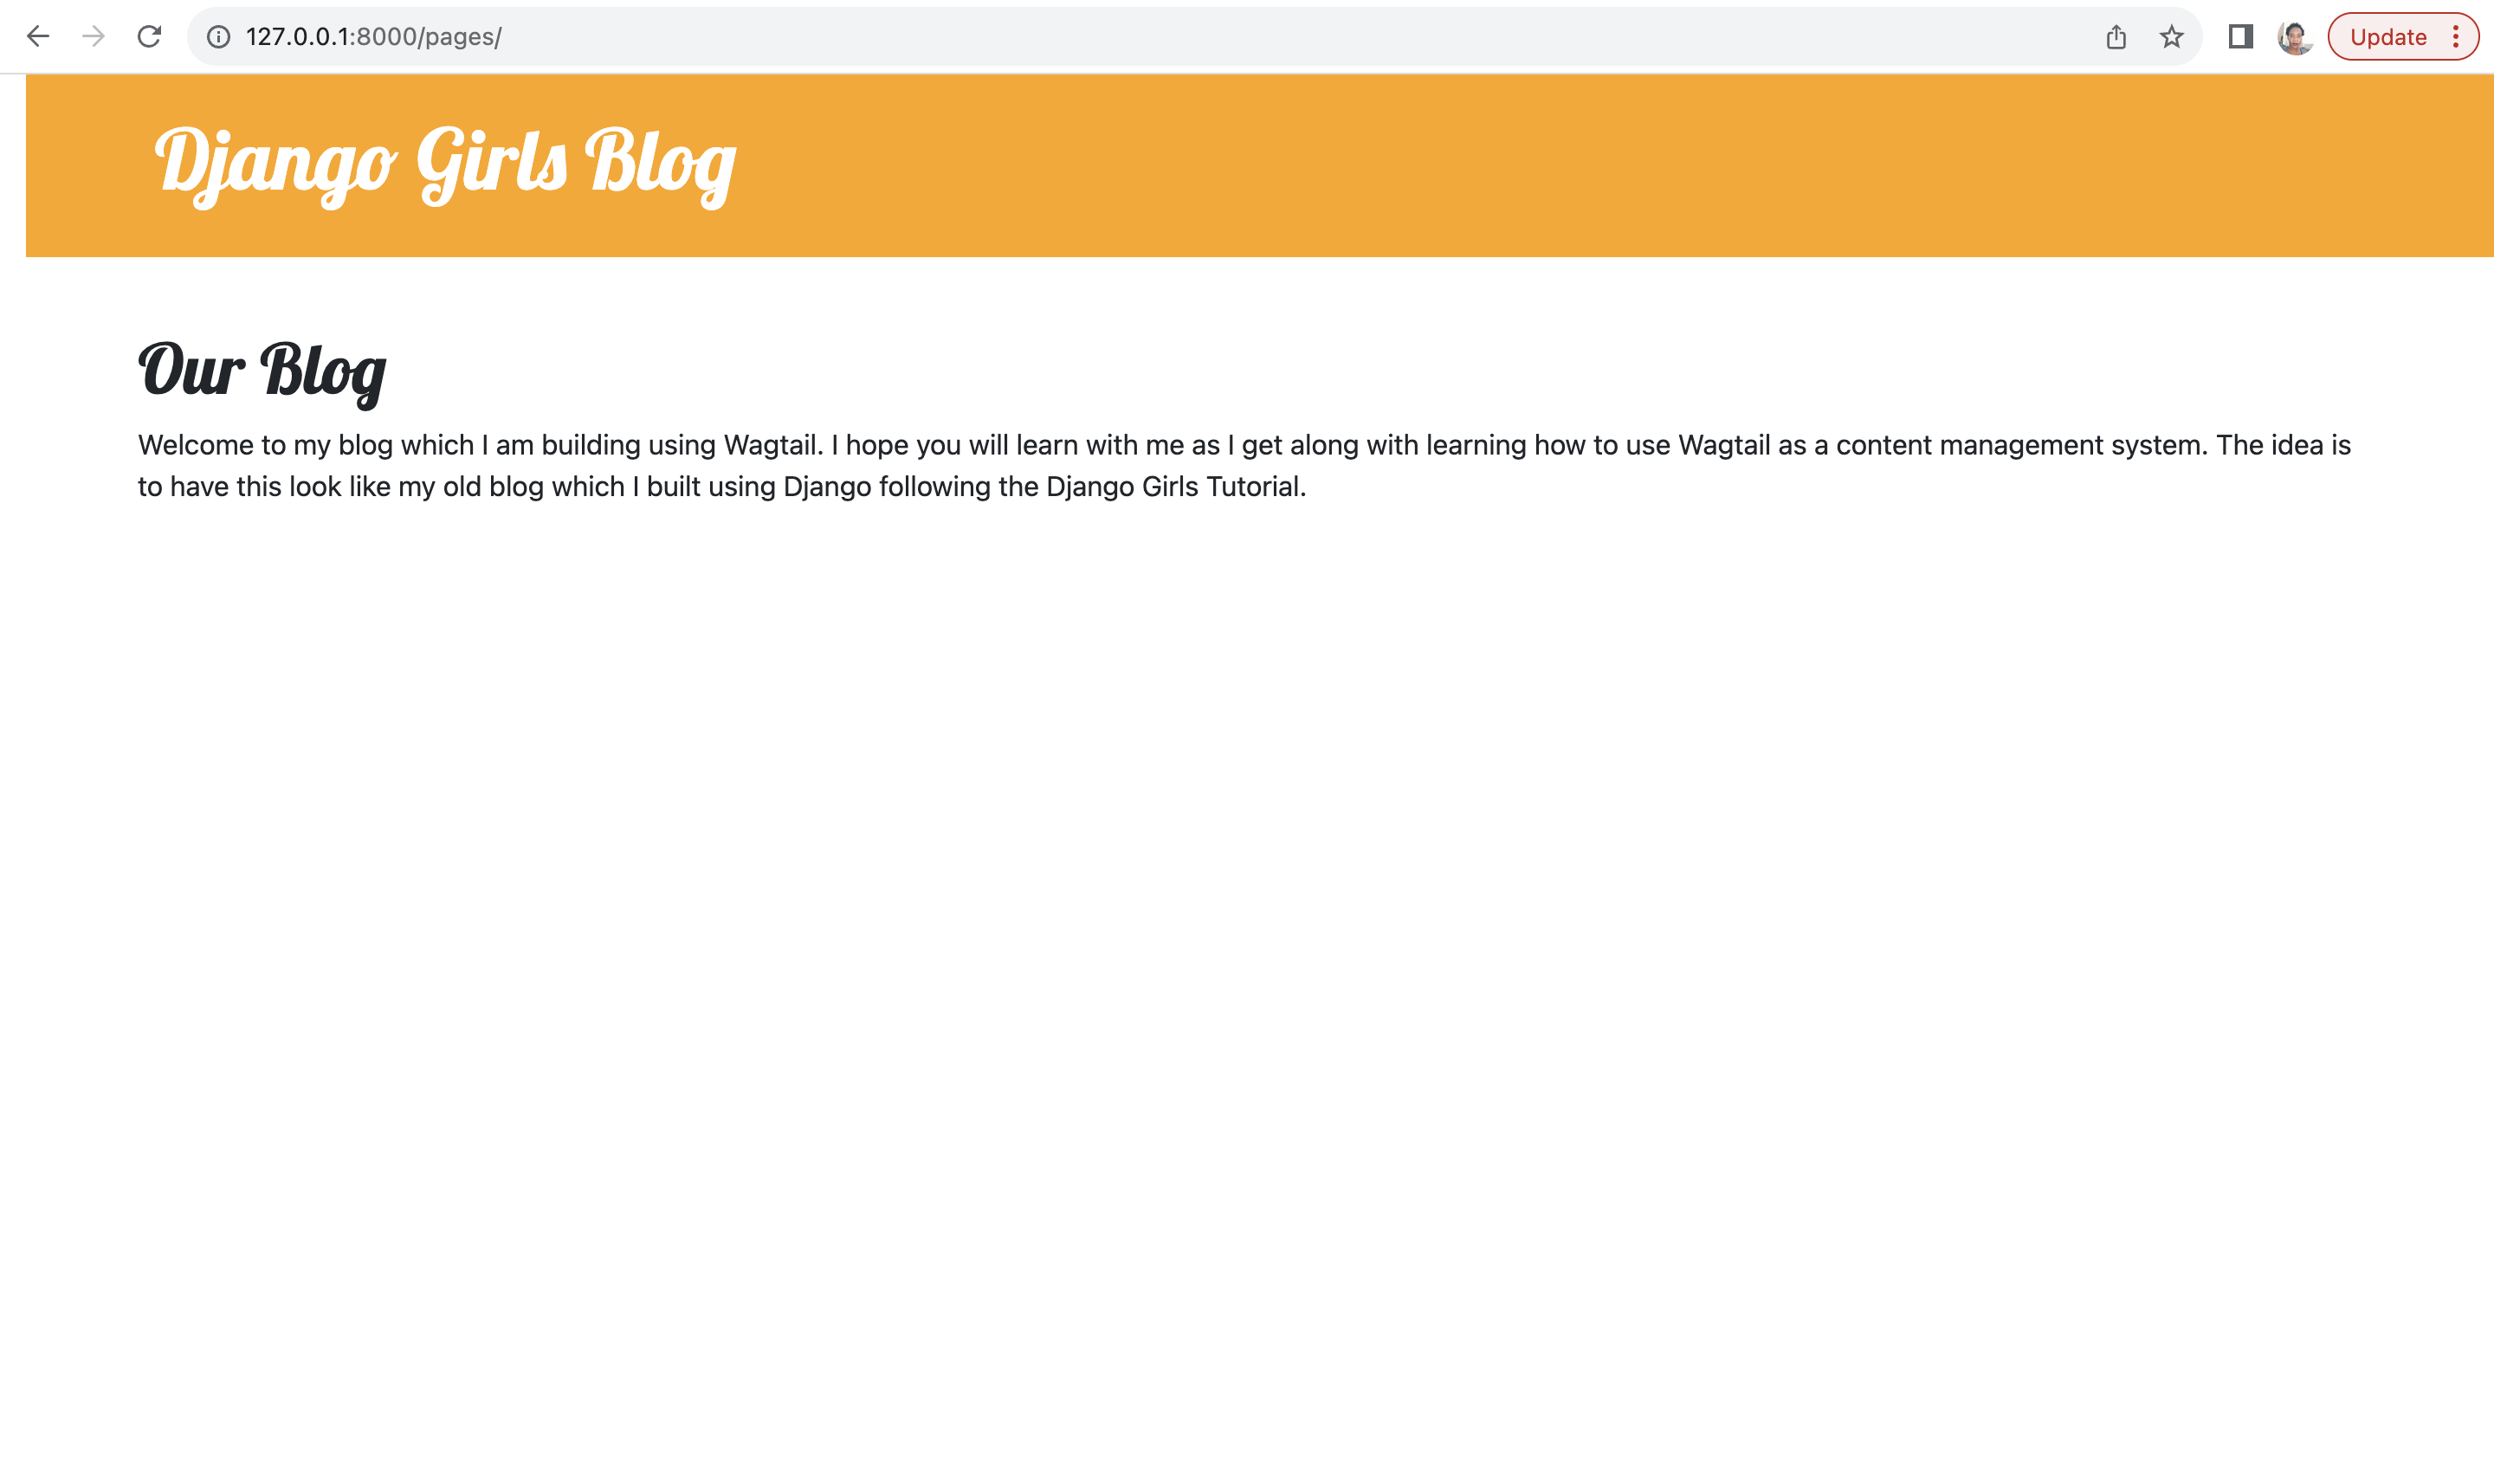
Yay! Our Wagtail blog looks like the blog we developed earlier on. However, we are not displaying our posts like we did in the blog we developed earlier. We will look at this in the next chapter.
See you there!